
Cross Mountain Transformations: From Garage Organization to Precision Masonry


At ReCreate Handyman, we love projects that require a mix of muscle, mechanics, and meticulous care. We recently spent a productive day with a new client in the beautiful Cross Mountain area, tackling a diverse checklist that transformed their garage from a cluttered storage space into an organized, functional workspace.
Here is a look behind the scenes at how we helped this homeowner "re-create" their living space.
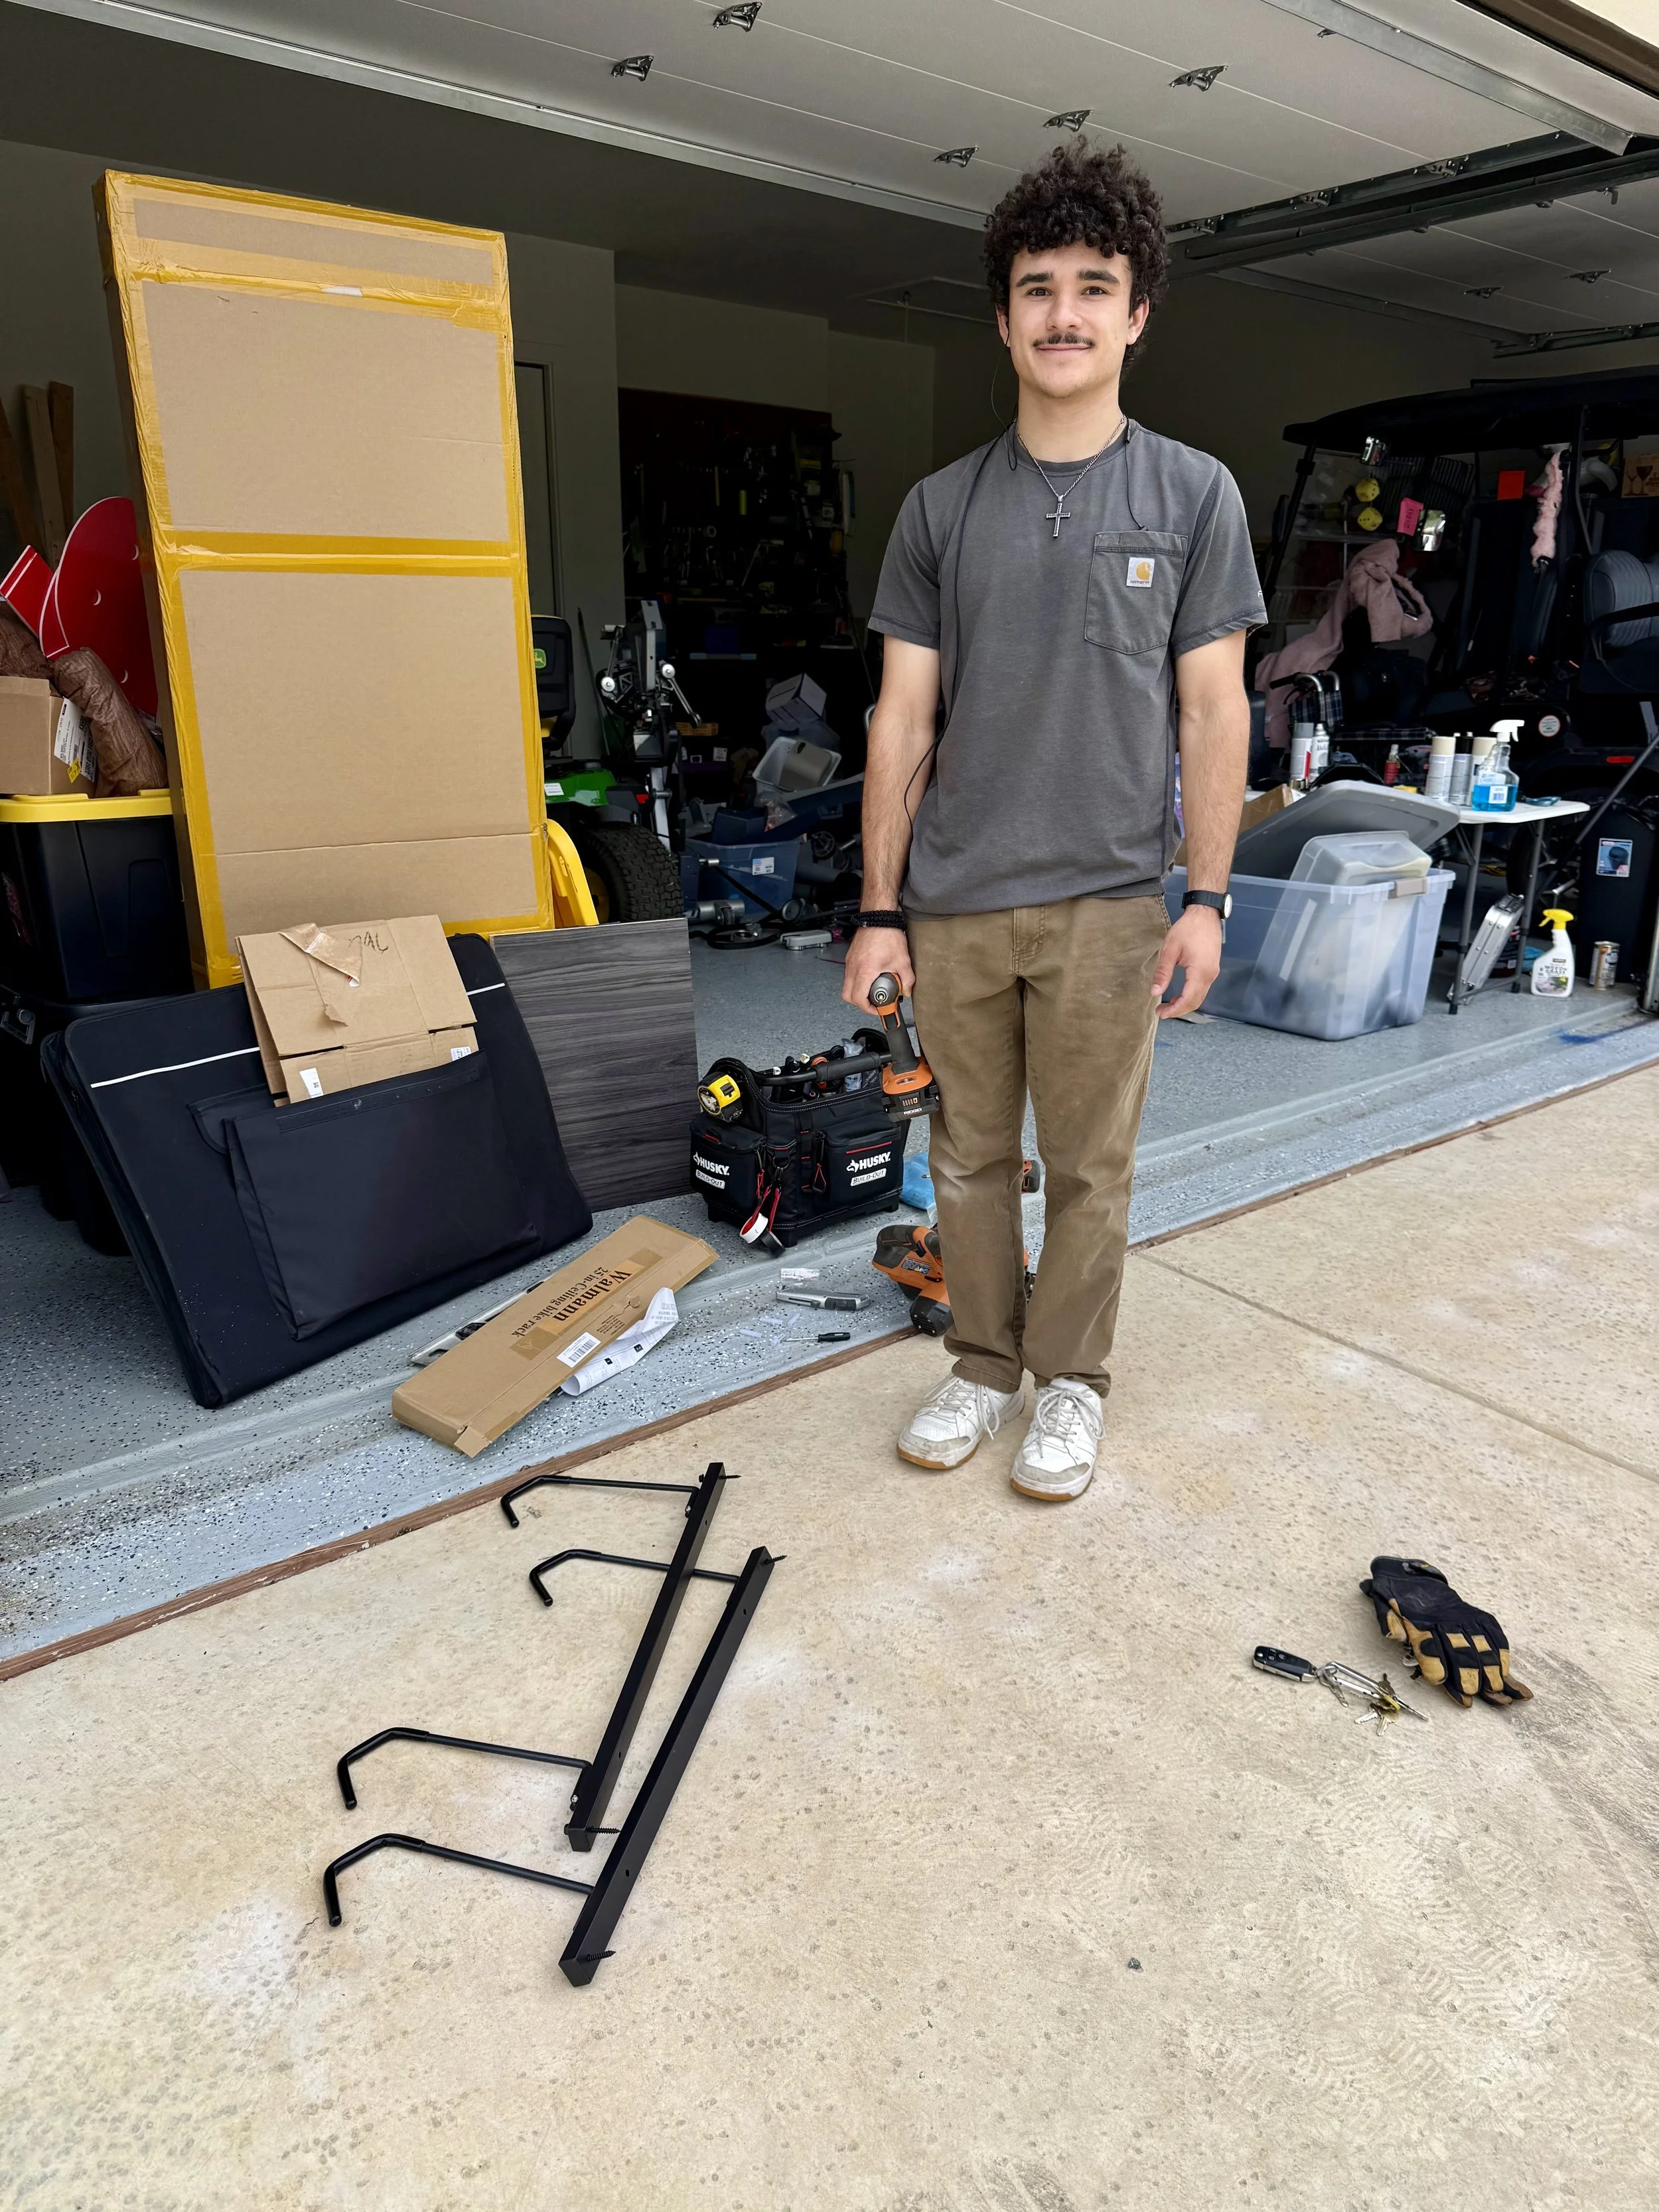
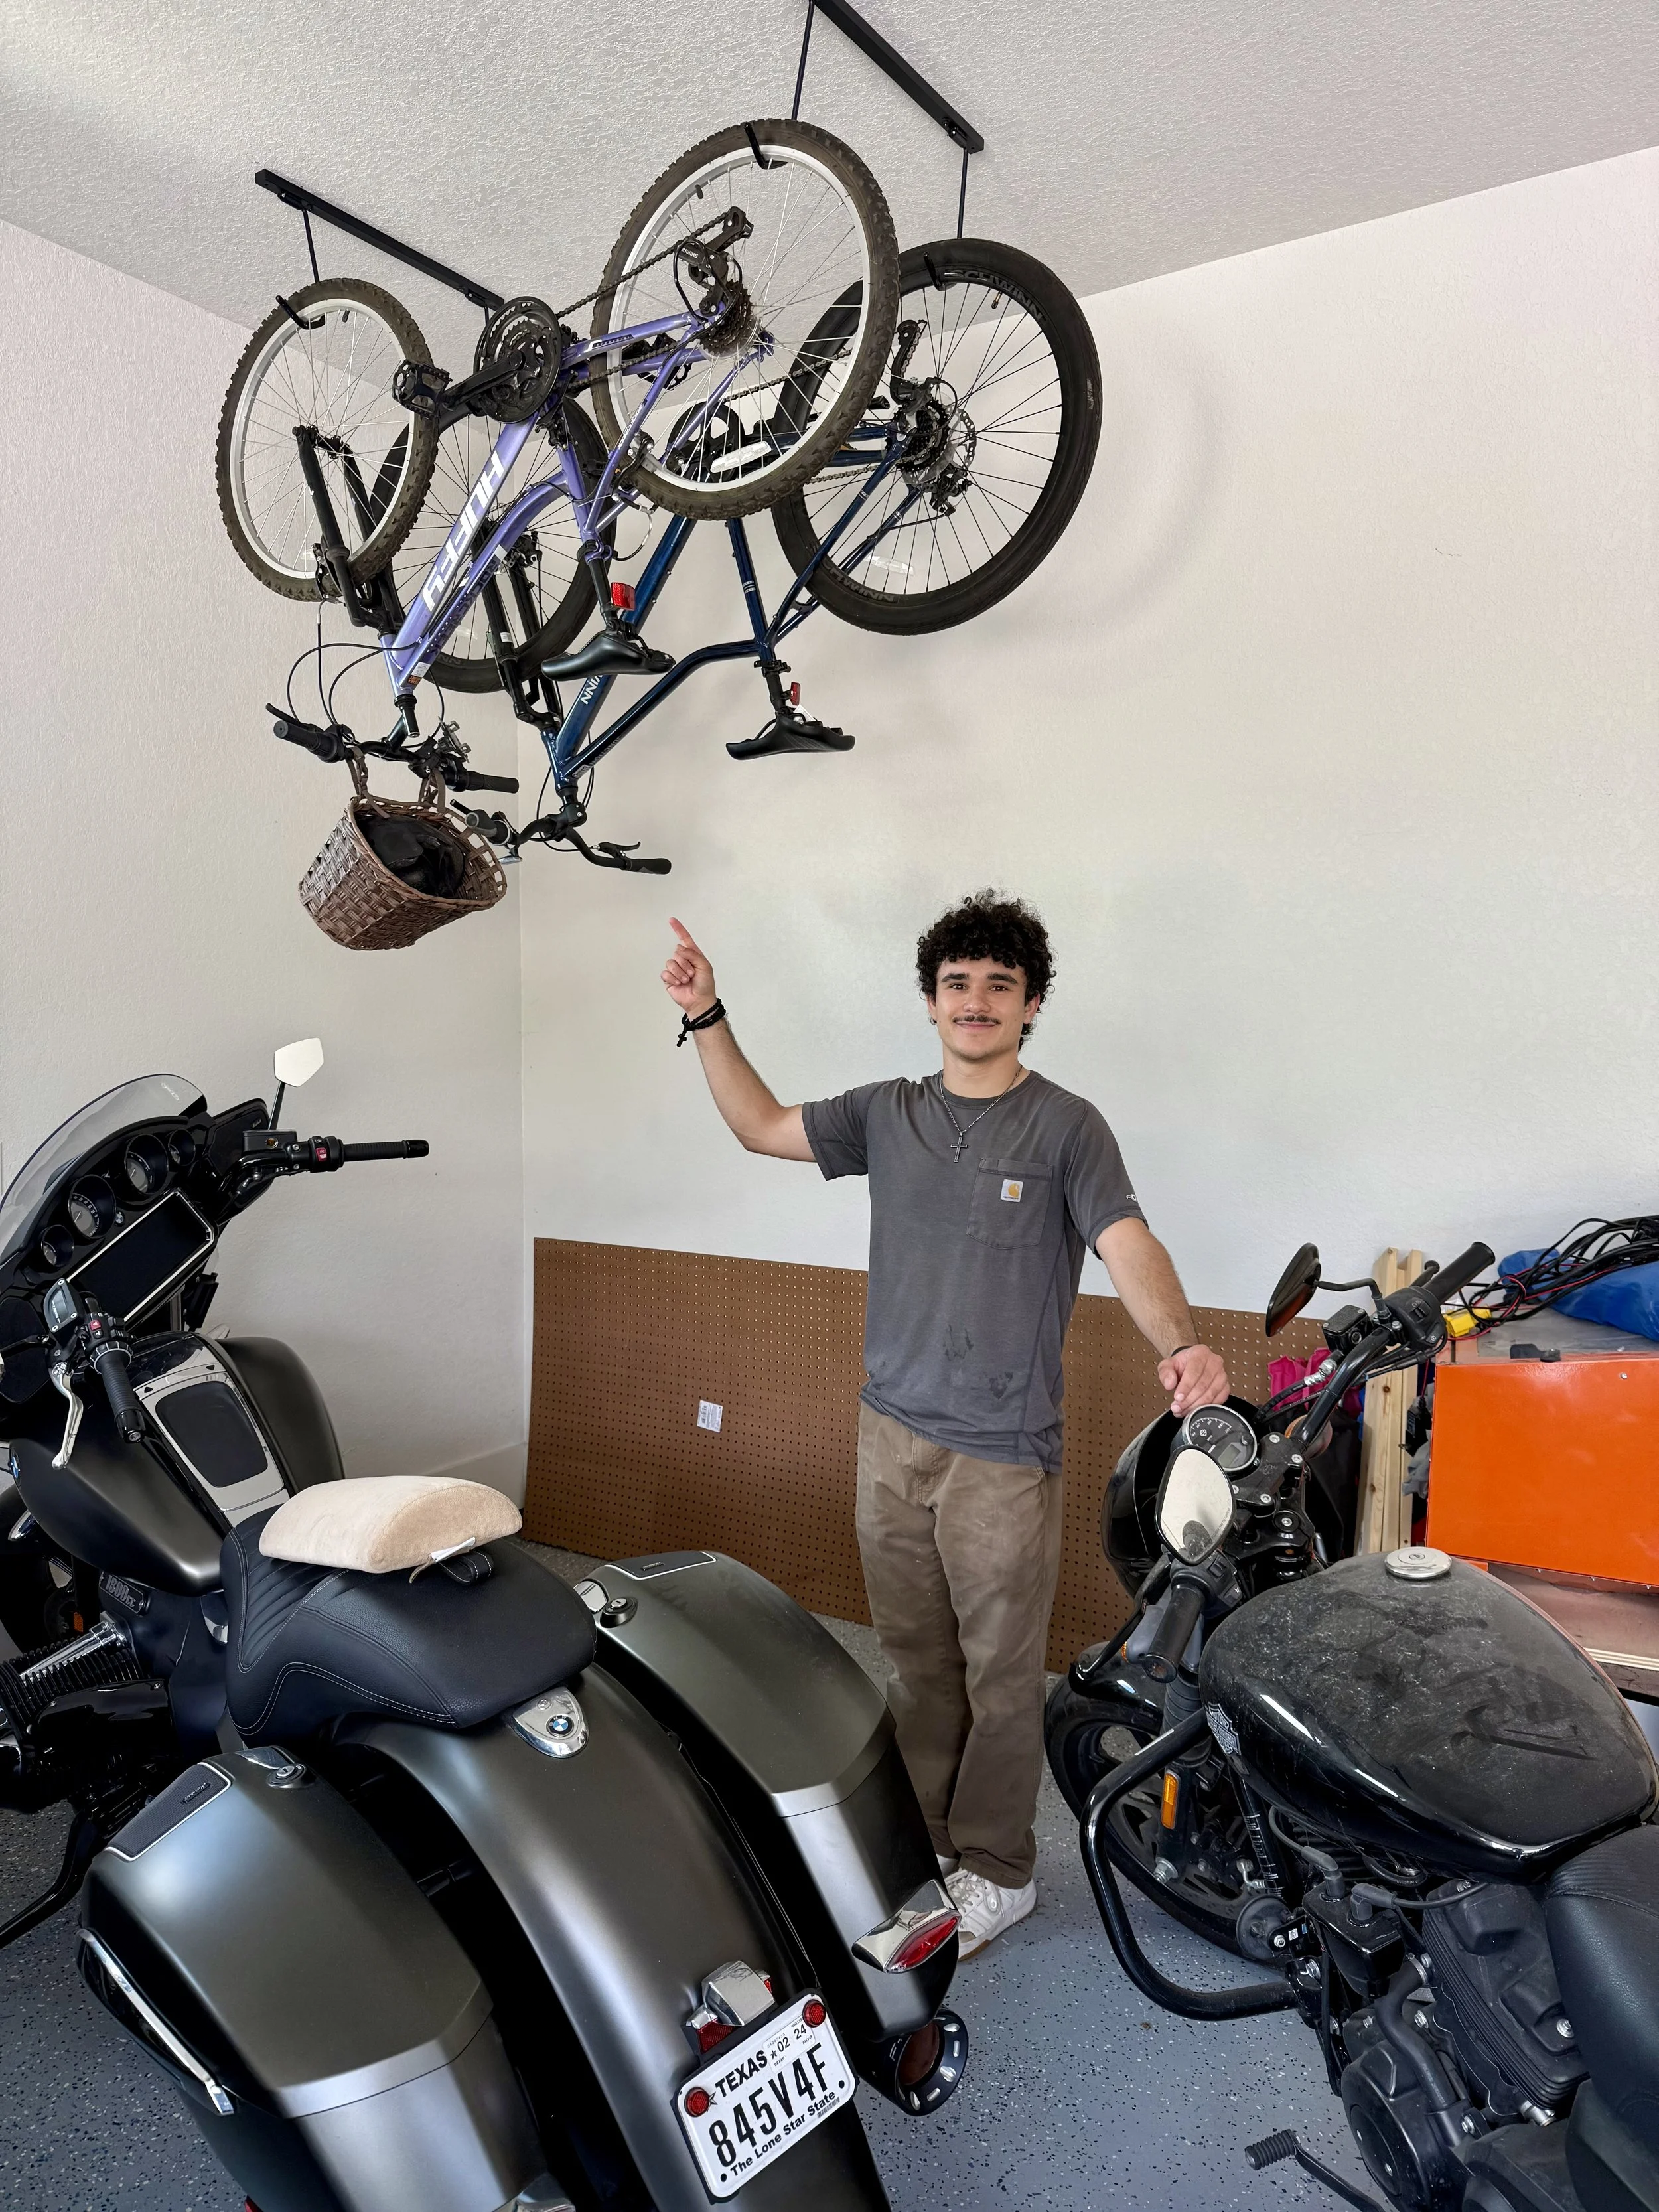
1. High-Stakes Storage: Protecting the Harley
The first task was a literal "high-stakes" installation. The homeowner needed a dual bike rack fastened to the rafters of their nine-foot ceiling.
Normally, hanging a bike rack is straightforward, but this one had a very important neighbor: a stunning Harley-Davidson motorcycle parked directly underneath. There was zero room for error. We ensured the rack was lagged securely into the structural rafters, providing the weight capacity needed to keep those bicycles safely suspended and the chrome on that Harley pristine.
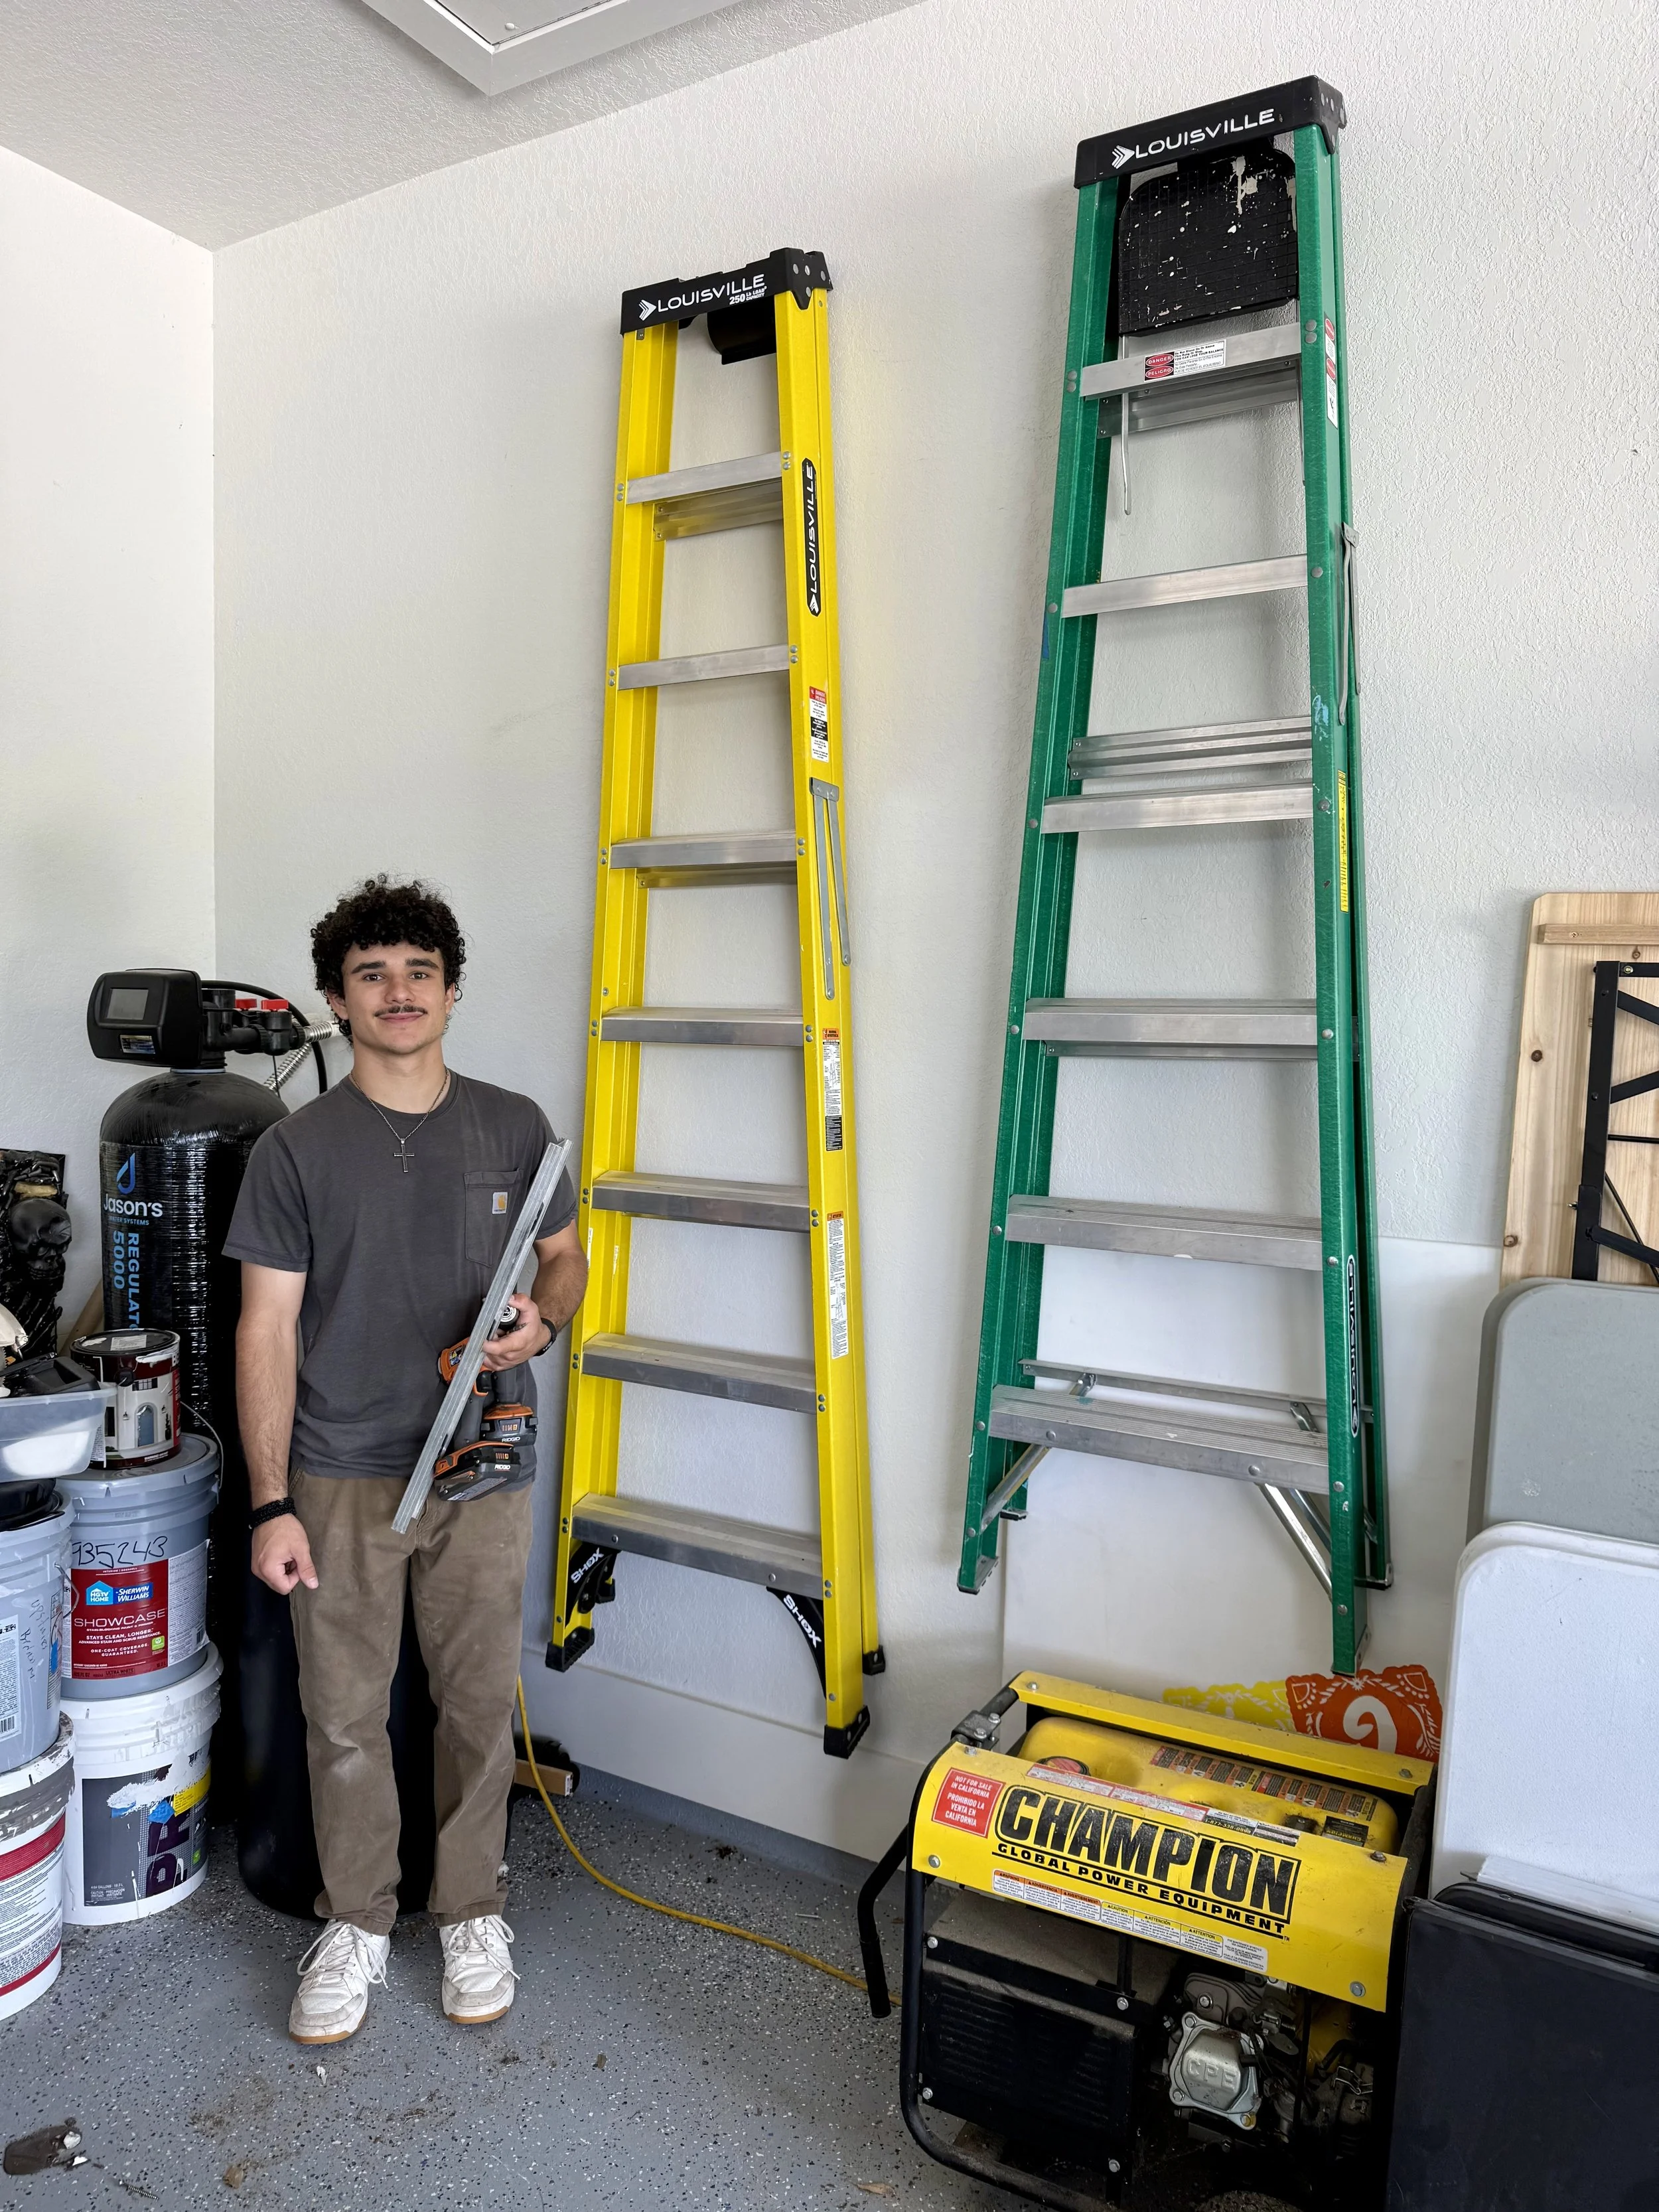
2. The Efficient Garage: Ladders & Layouts
Next, we moved to the walls. The homeowner had already pre-purchased heavy-duty fasteners for their large A-frame ladders.
Pro-Tip: We love it when homeowners provide the hardware! It saves you money on material markups and saves us time on trips to the store, allowing us to get straight to work.
By getting those bulky ladders off the floor and onto the wall, the garage immediately felt twice as large. A clean floor is the first step toward a functional home.
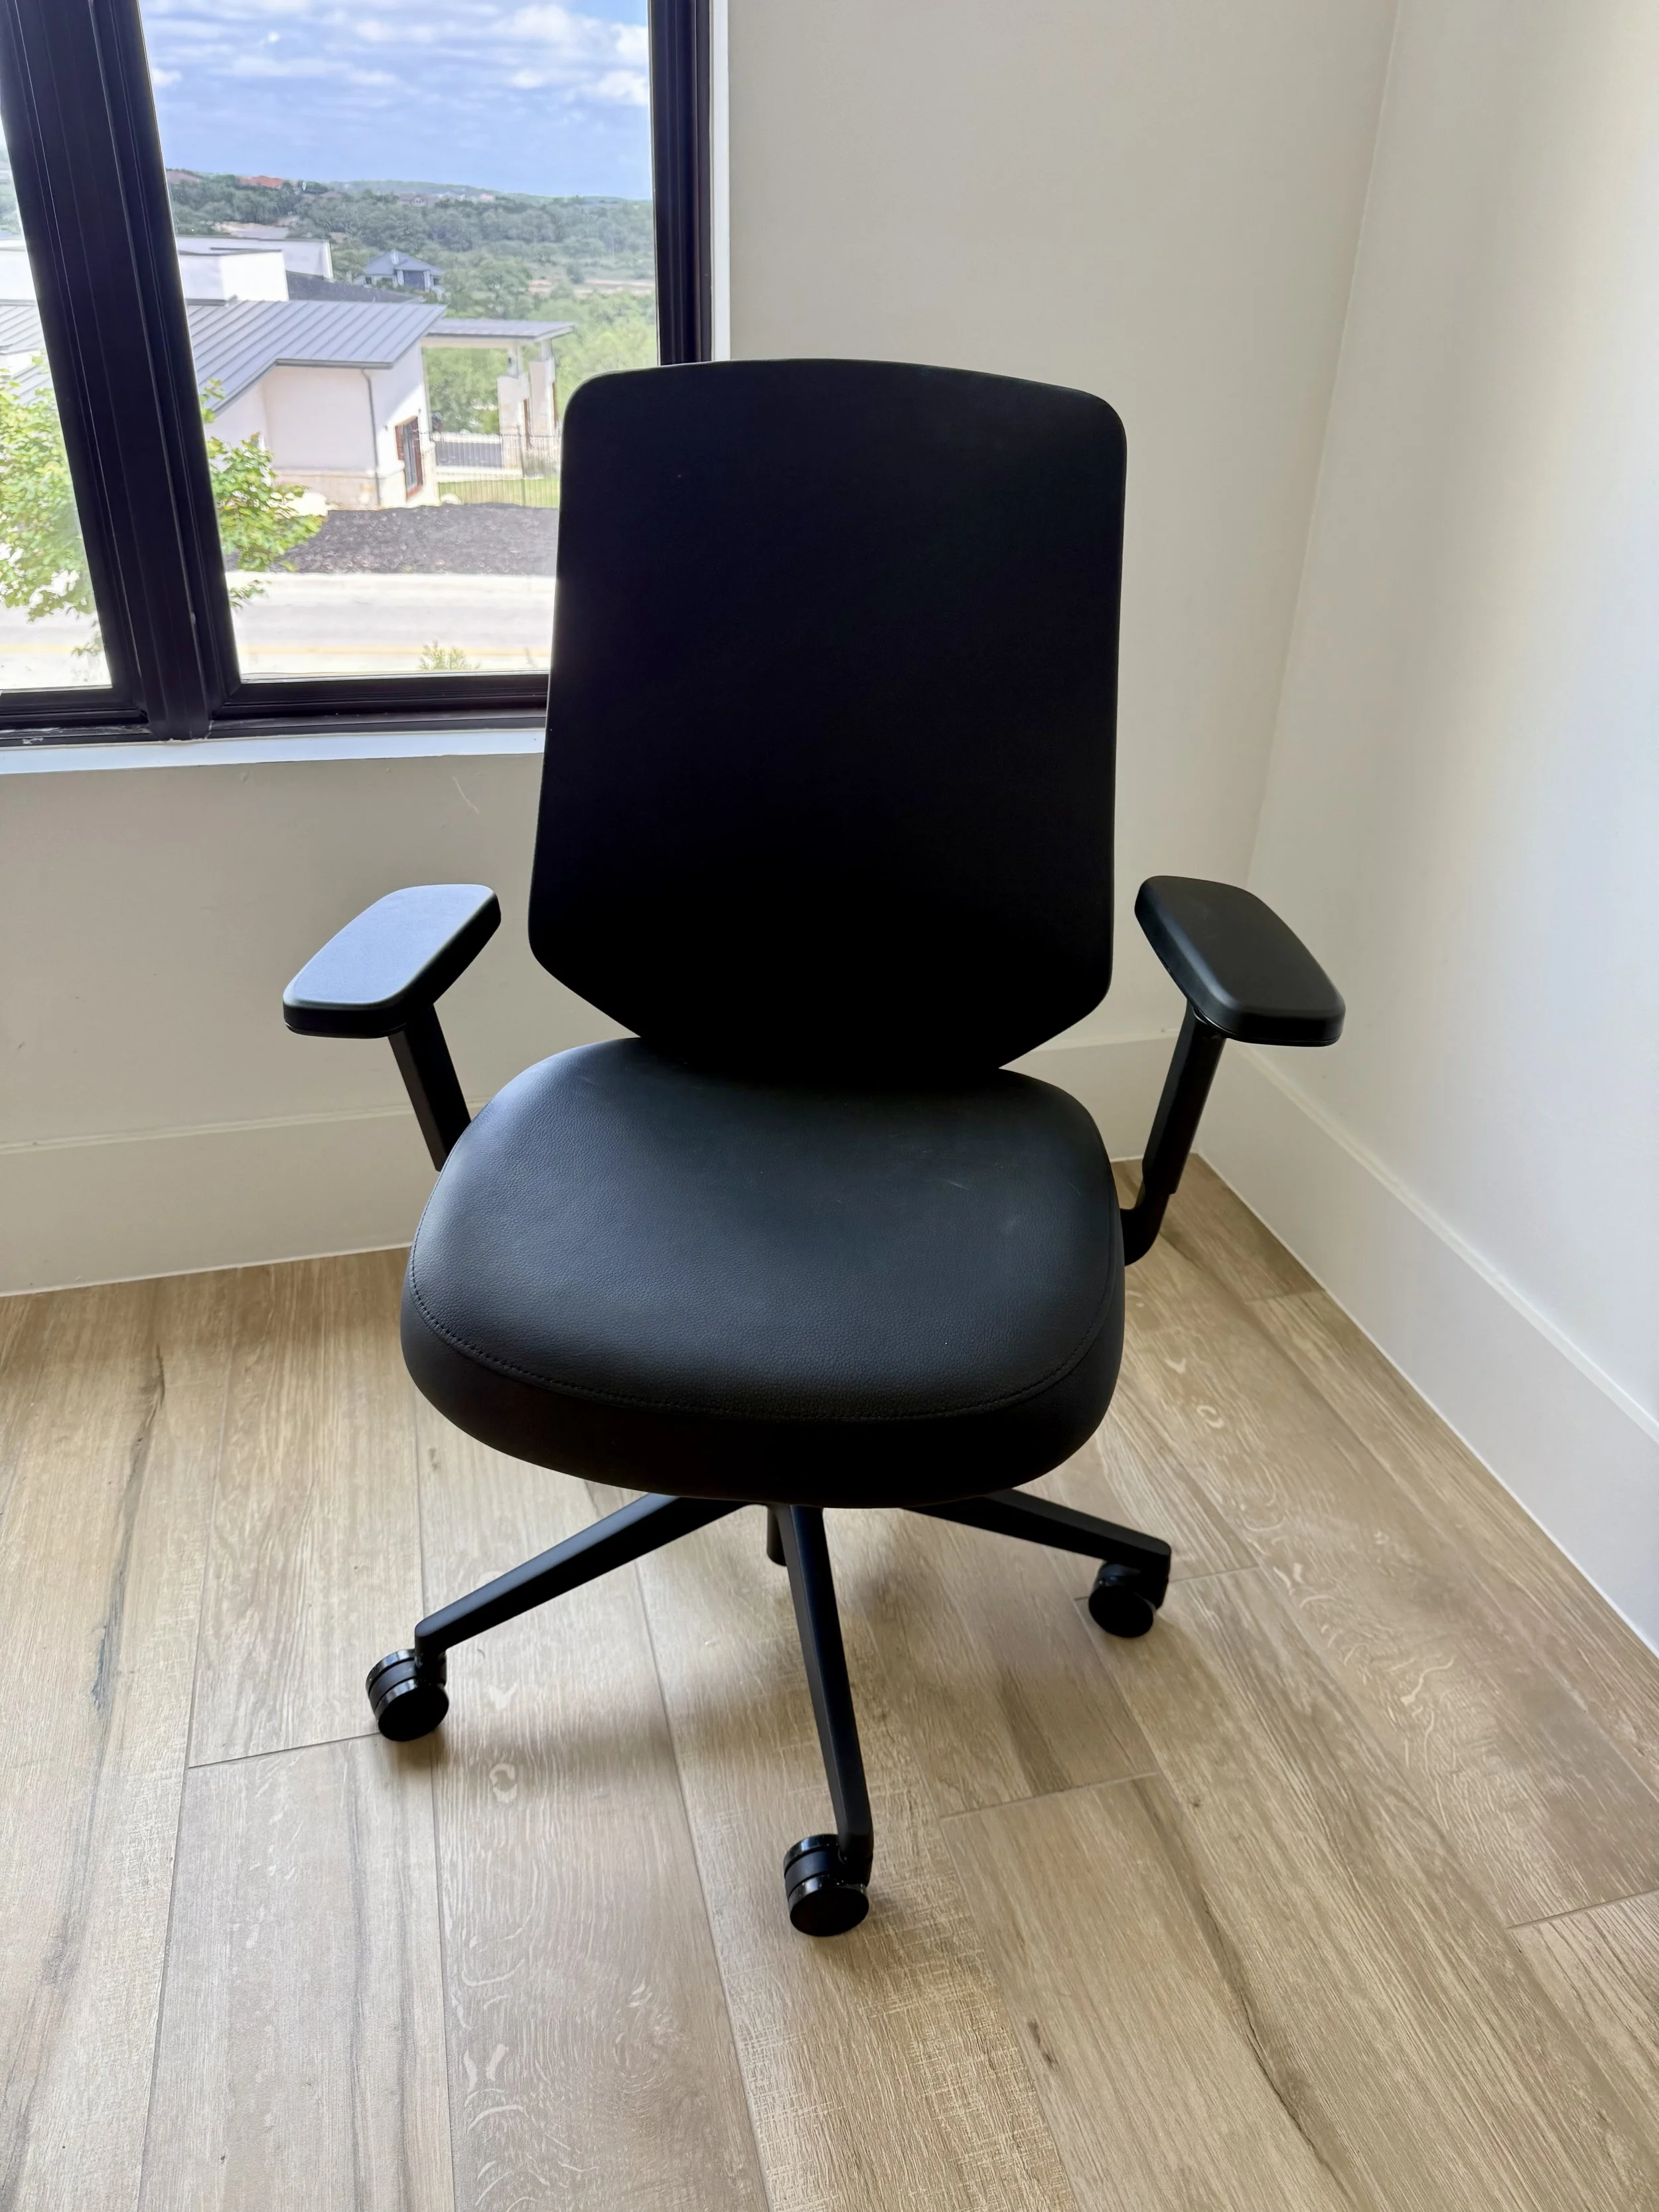
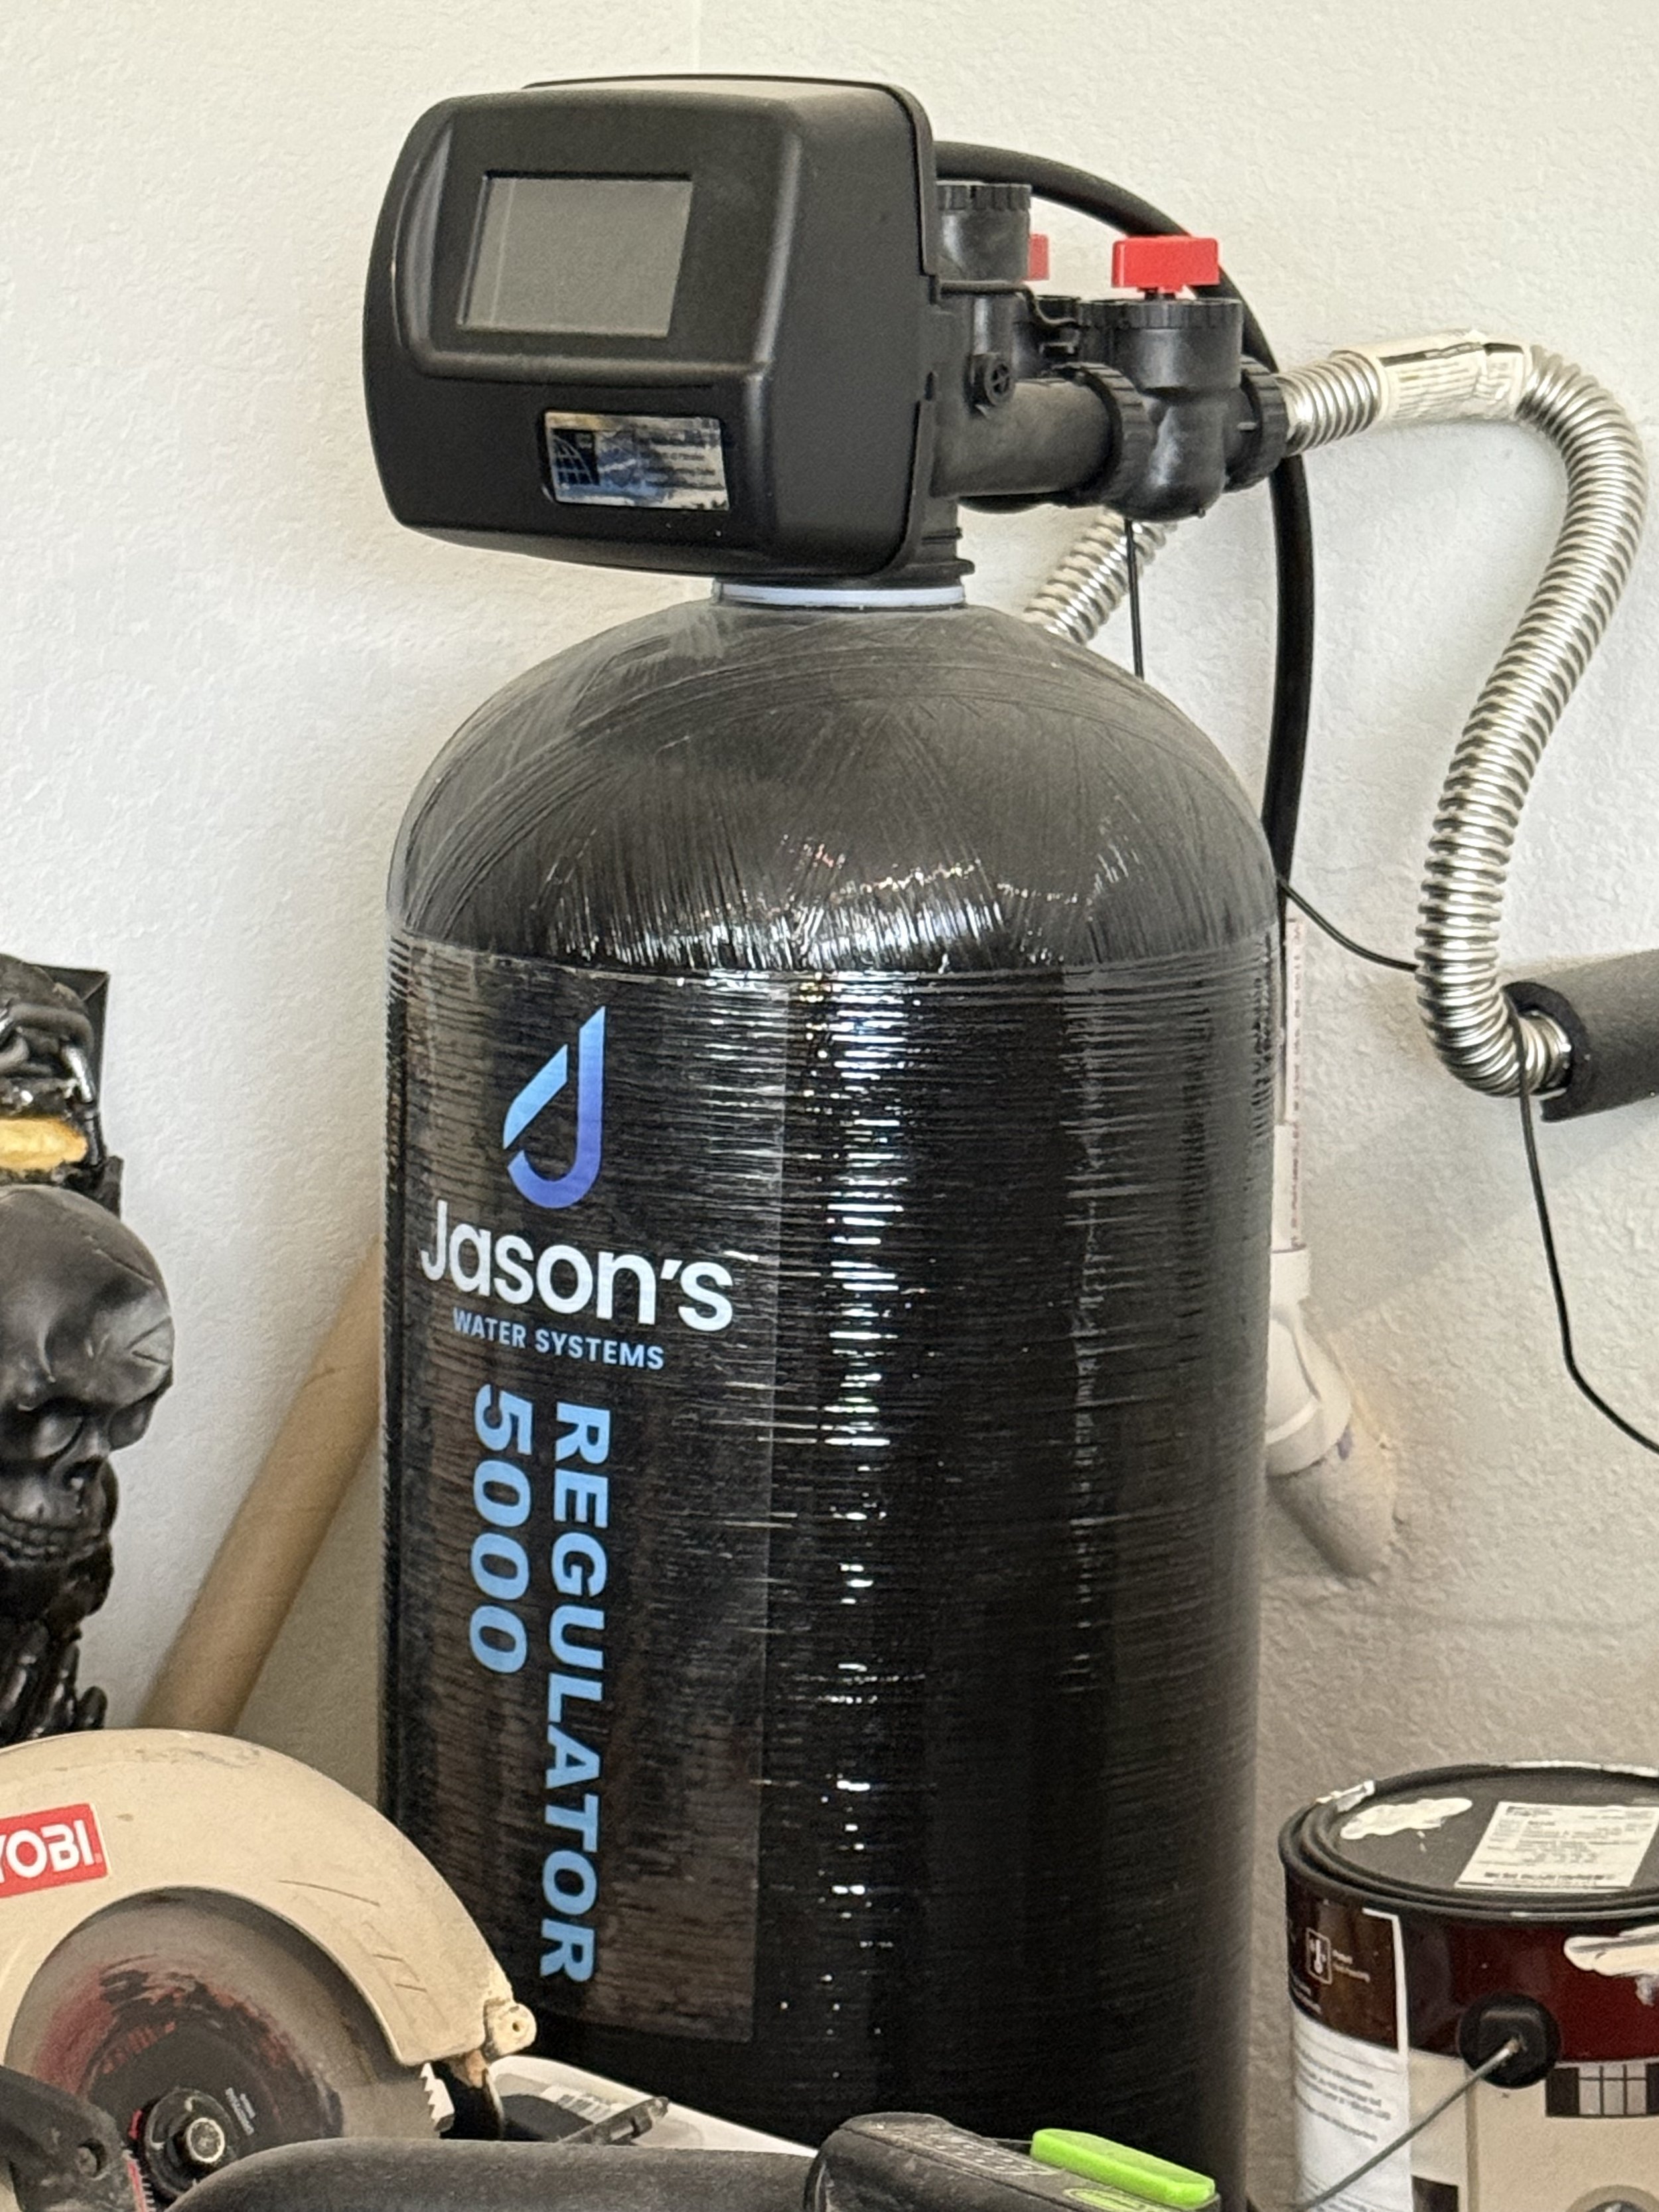
3. Division of Labor: Comfort & Chemistry
While Timothy stayed busy in the office assembling a high-end office chair—ensuring every bolt was tightened for maximum ergonomic support—Ted took a look at the home’s water softener.
The homeowner noticed the water wasn't feeling as "soft" as it should. We reviewed the settings together, adjusted the regeneration cycle, and optimized the salt dosage. It’s those small technical adjustments that make a big difference in daily home comfort.
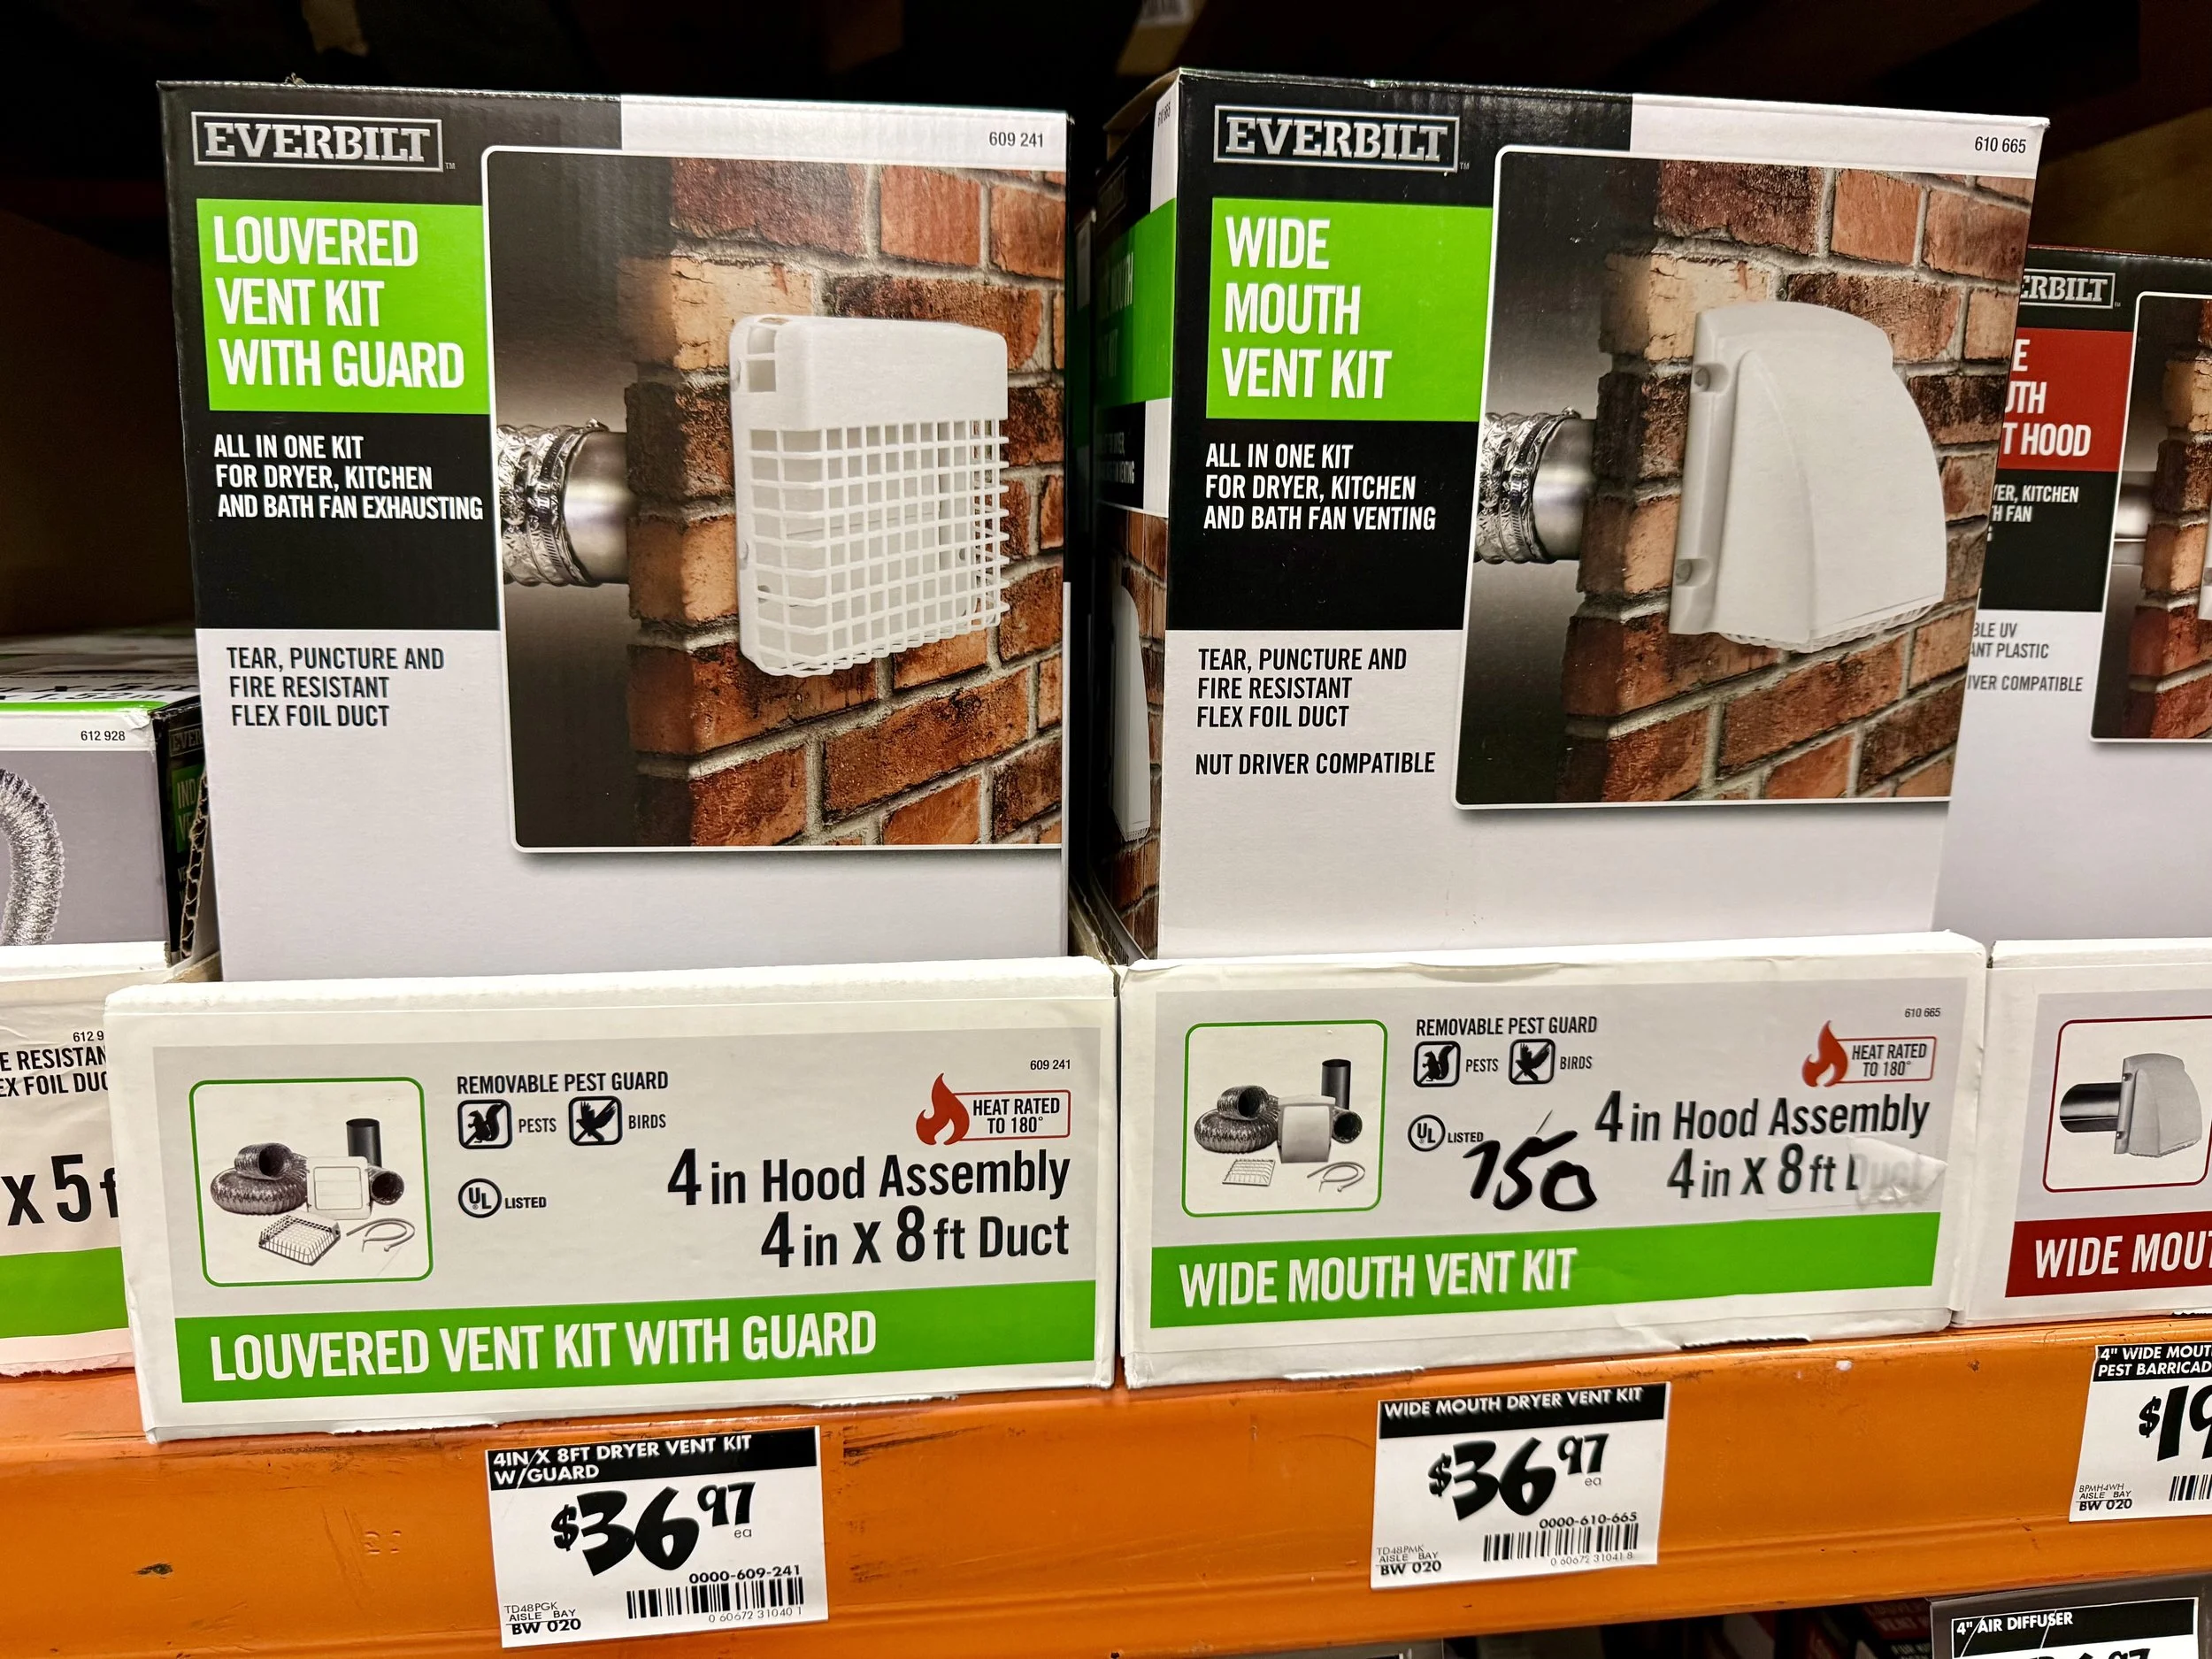
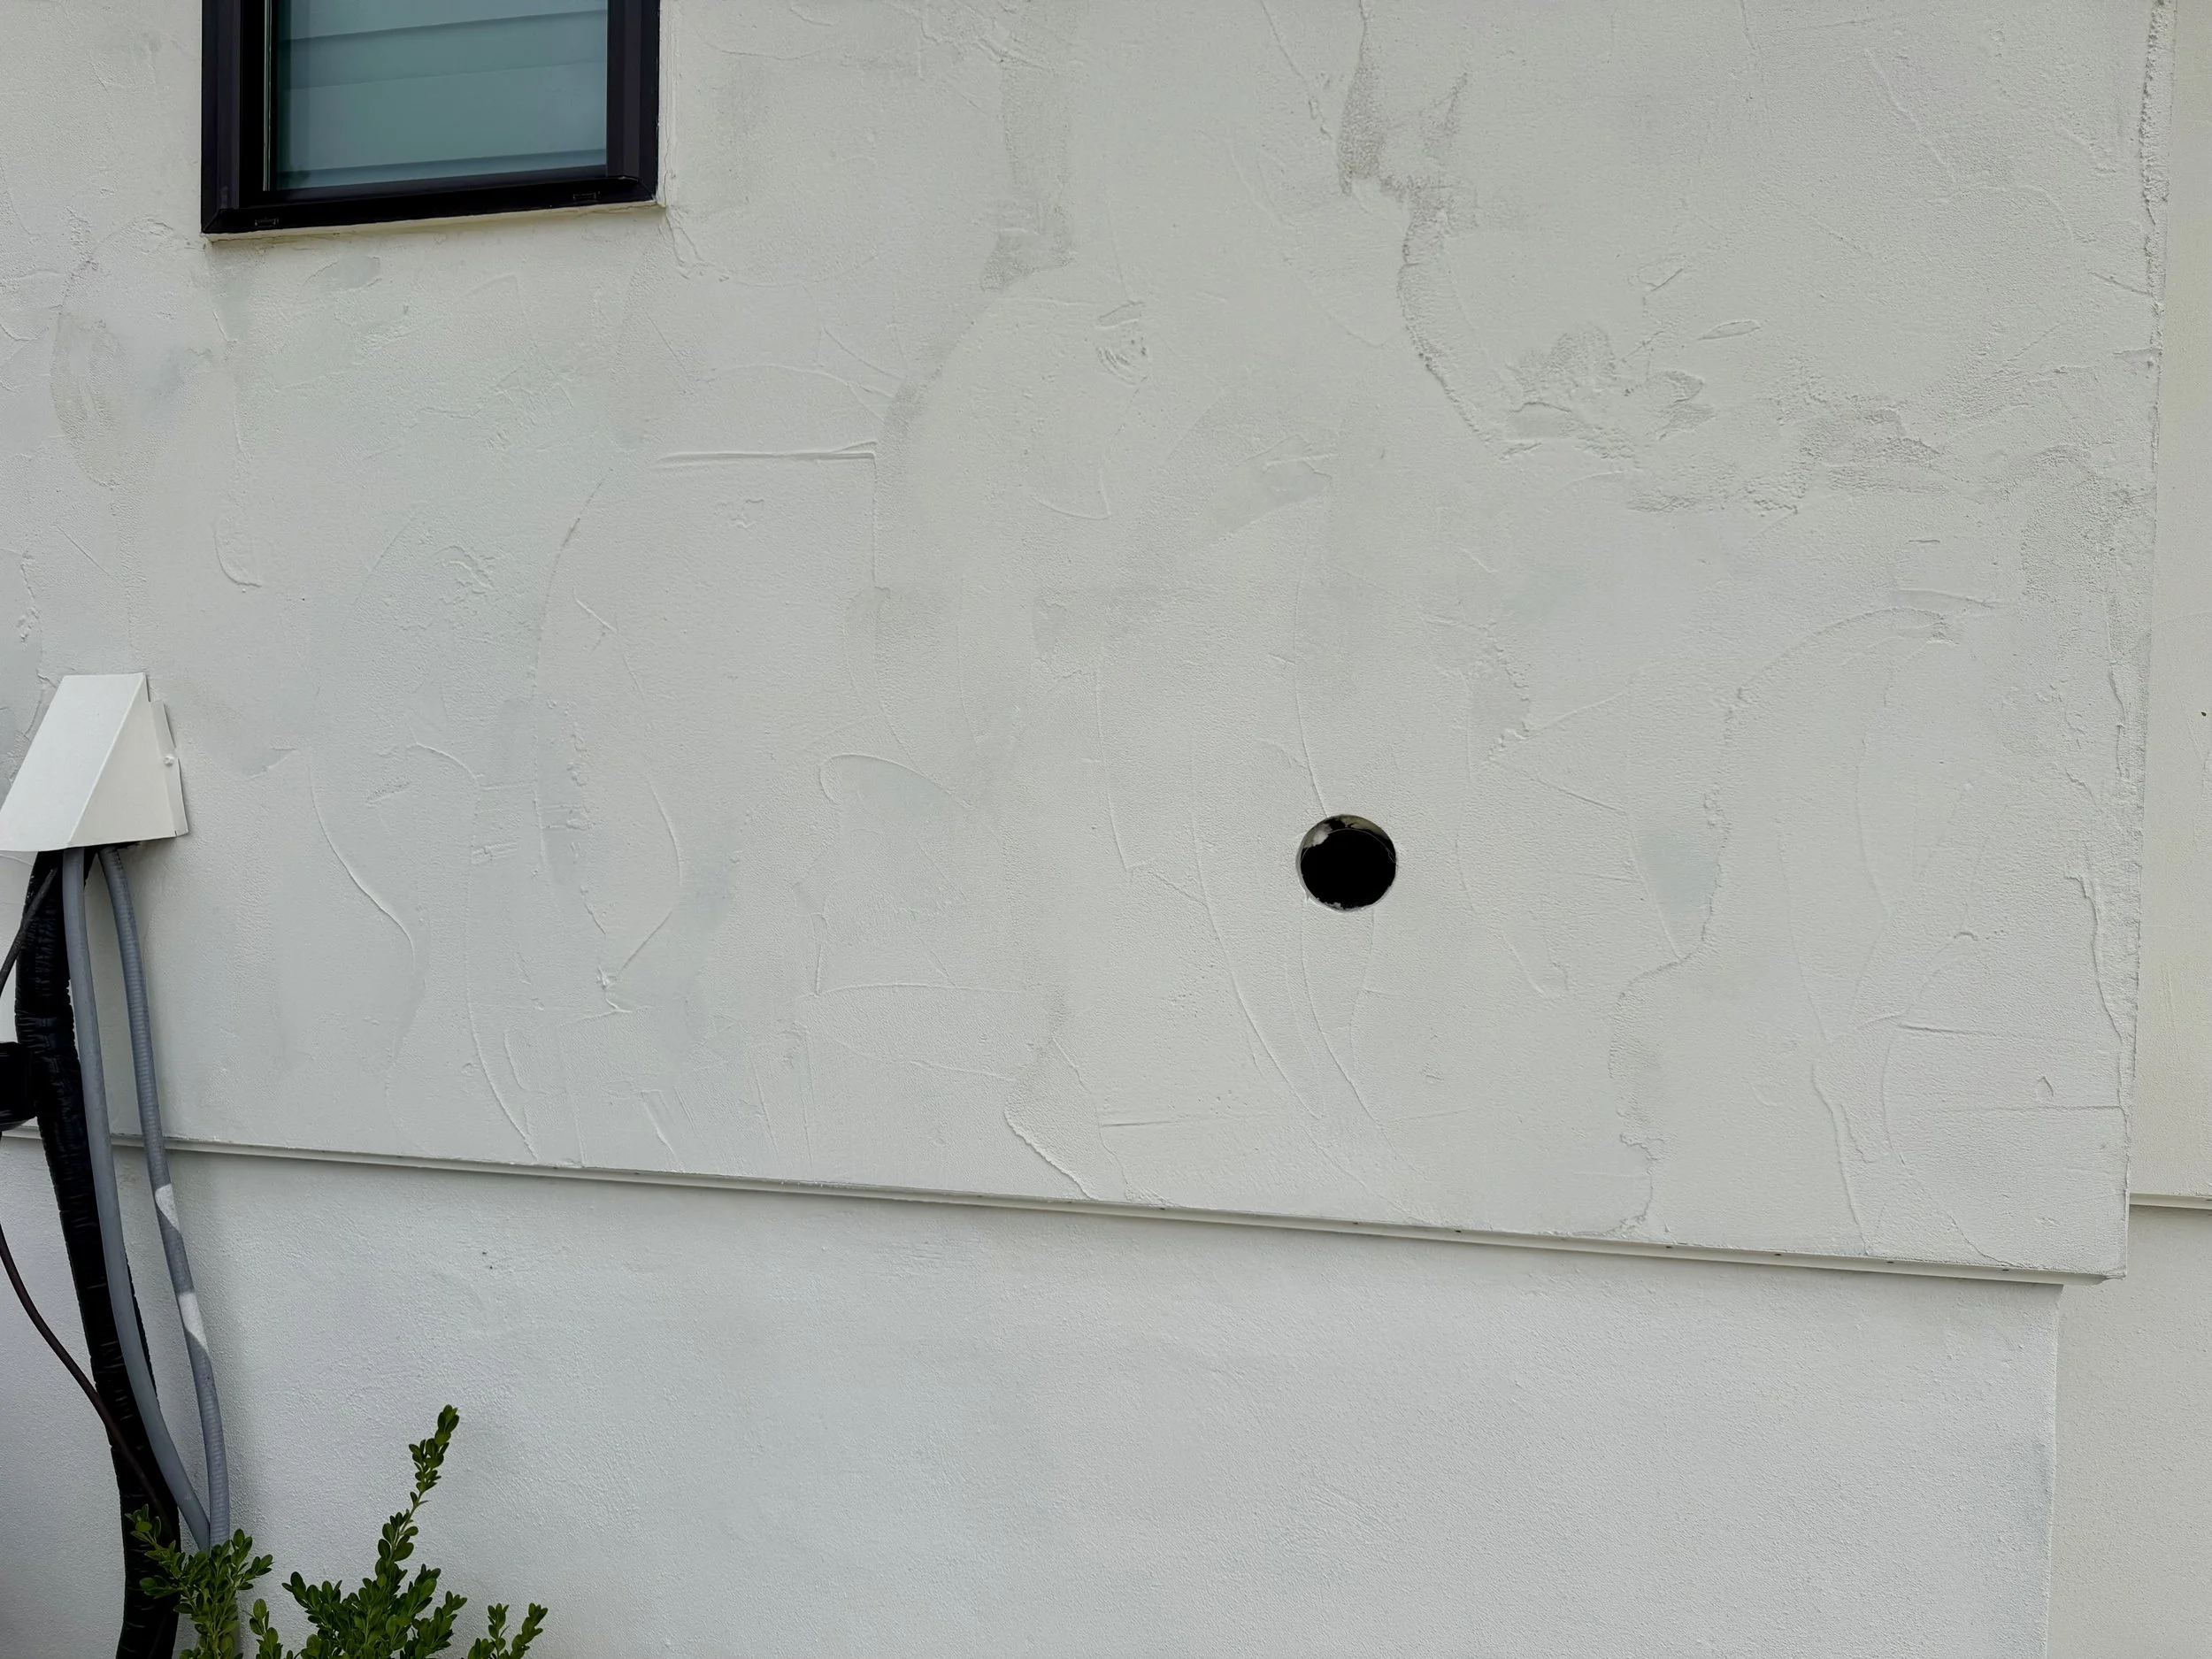
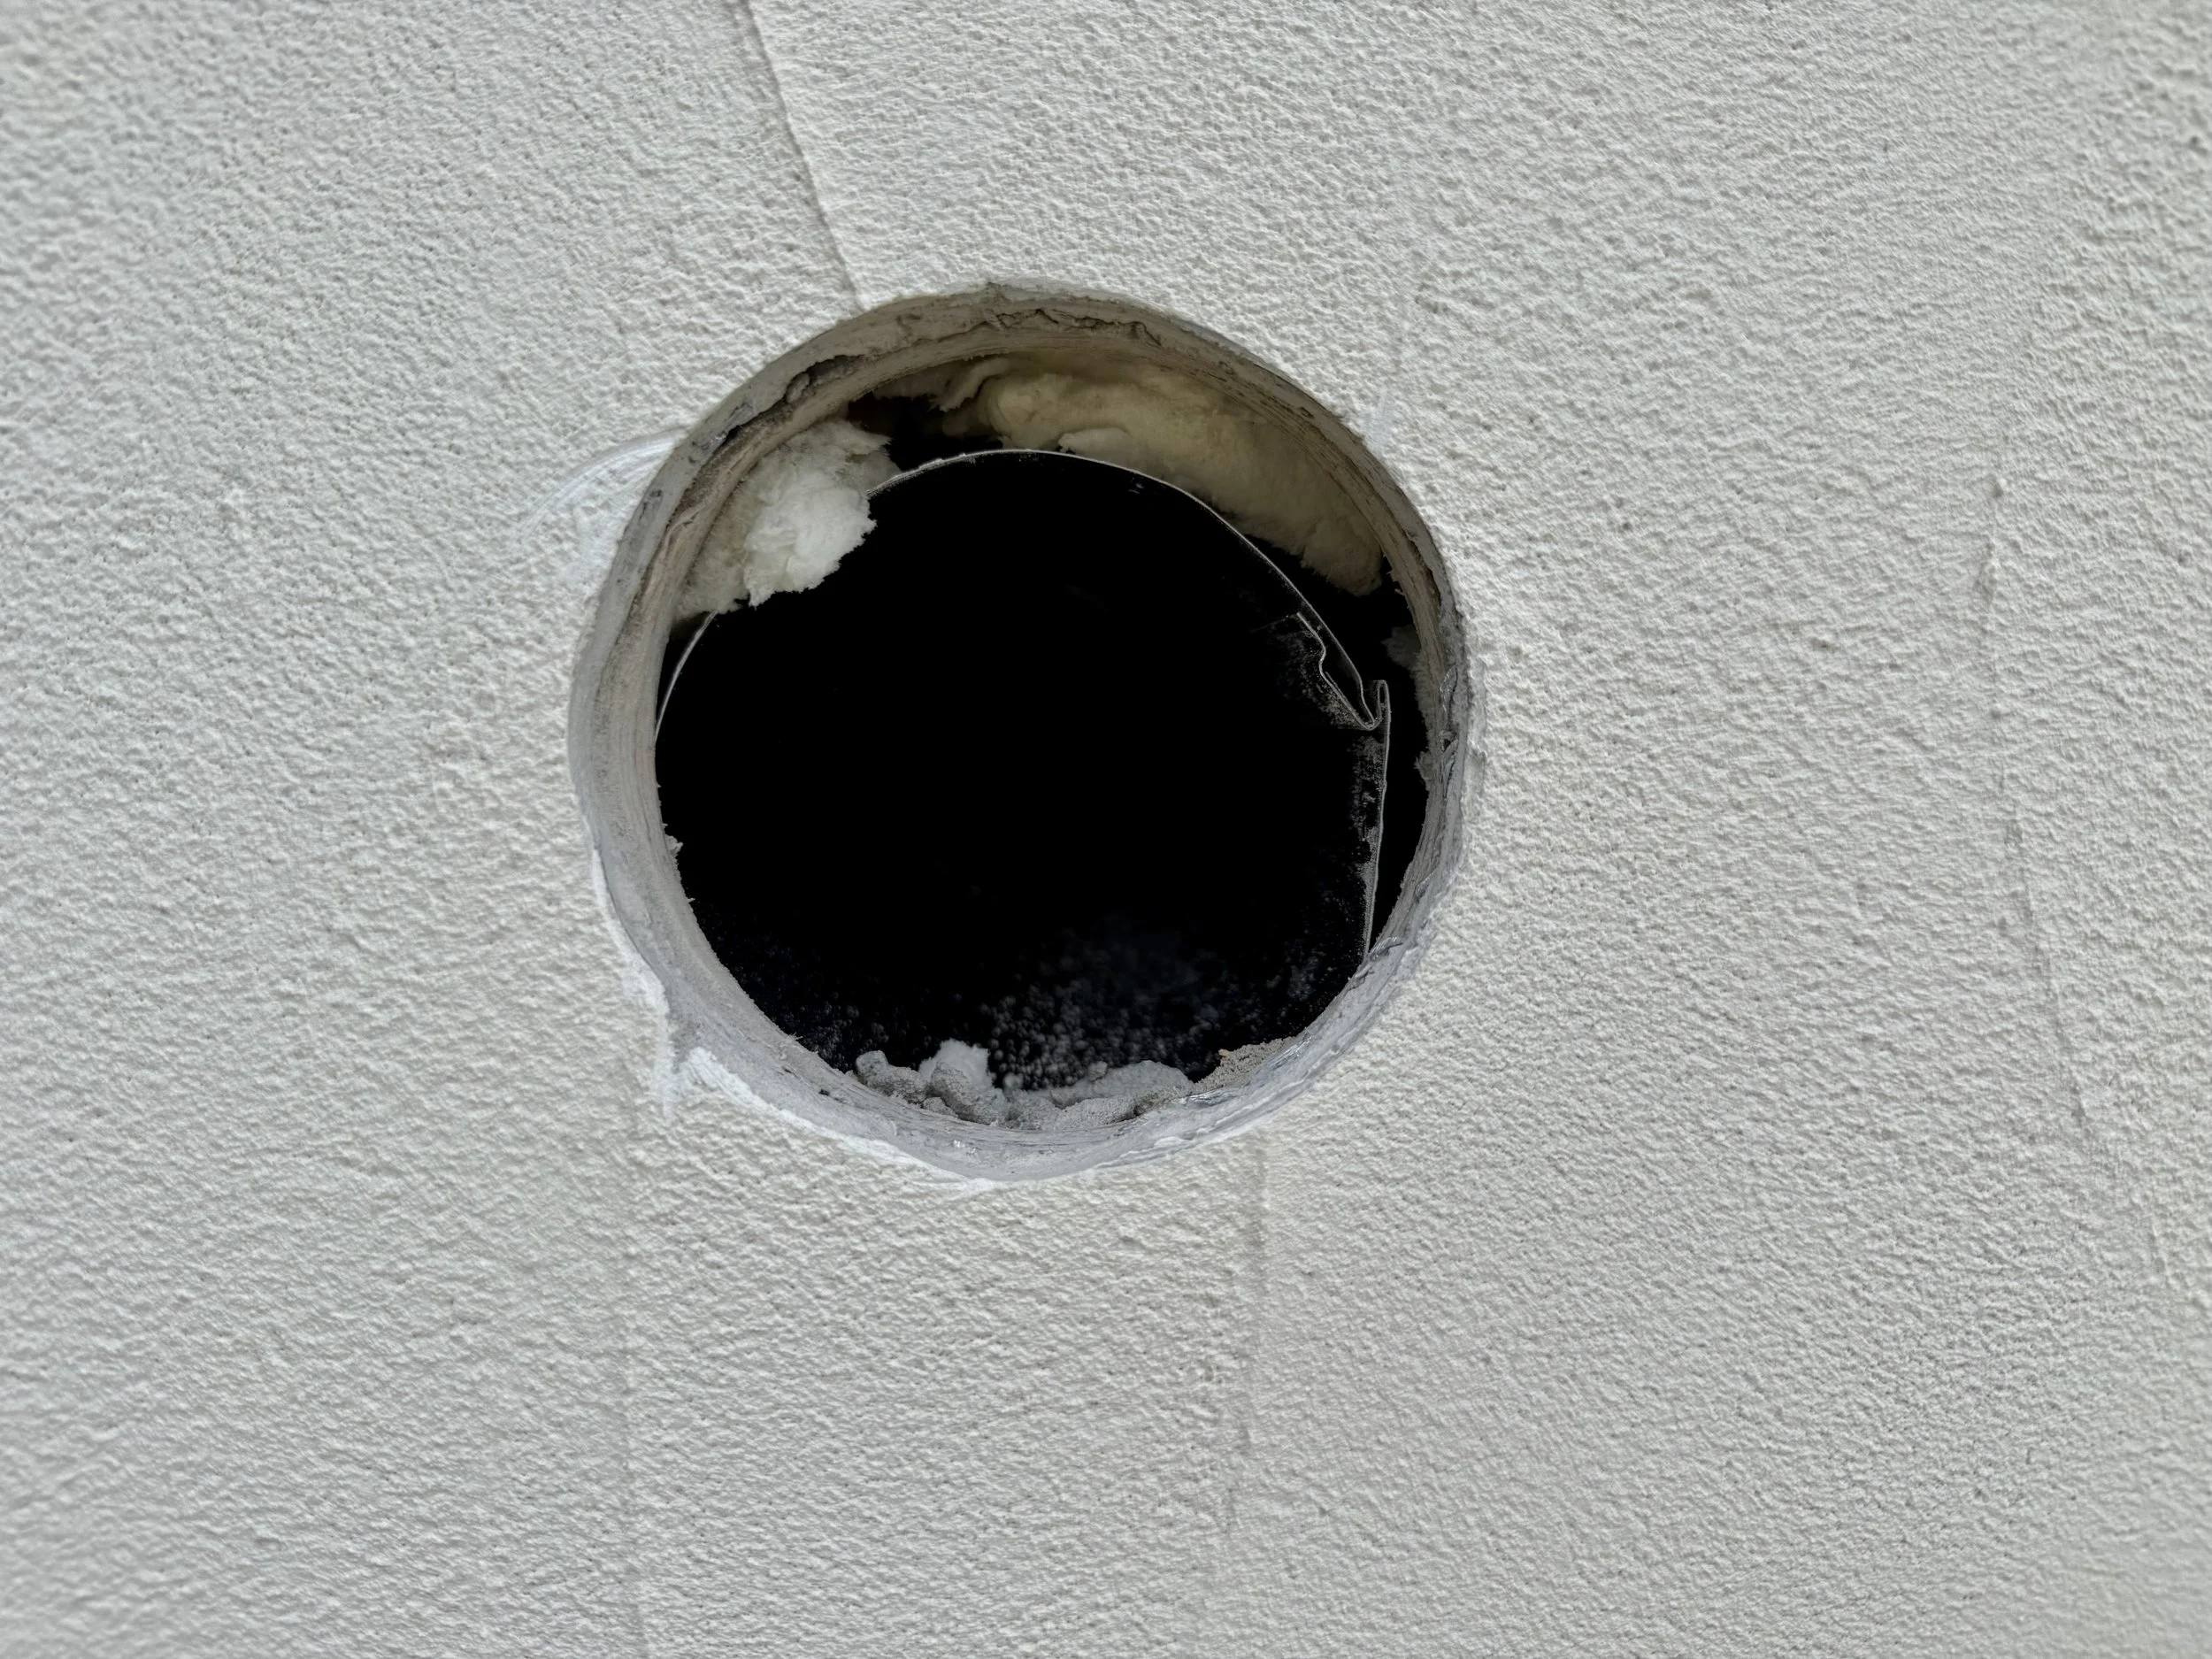
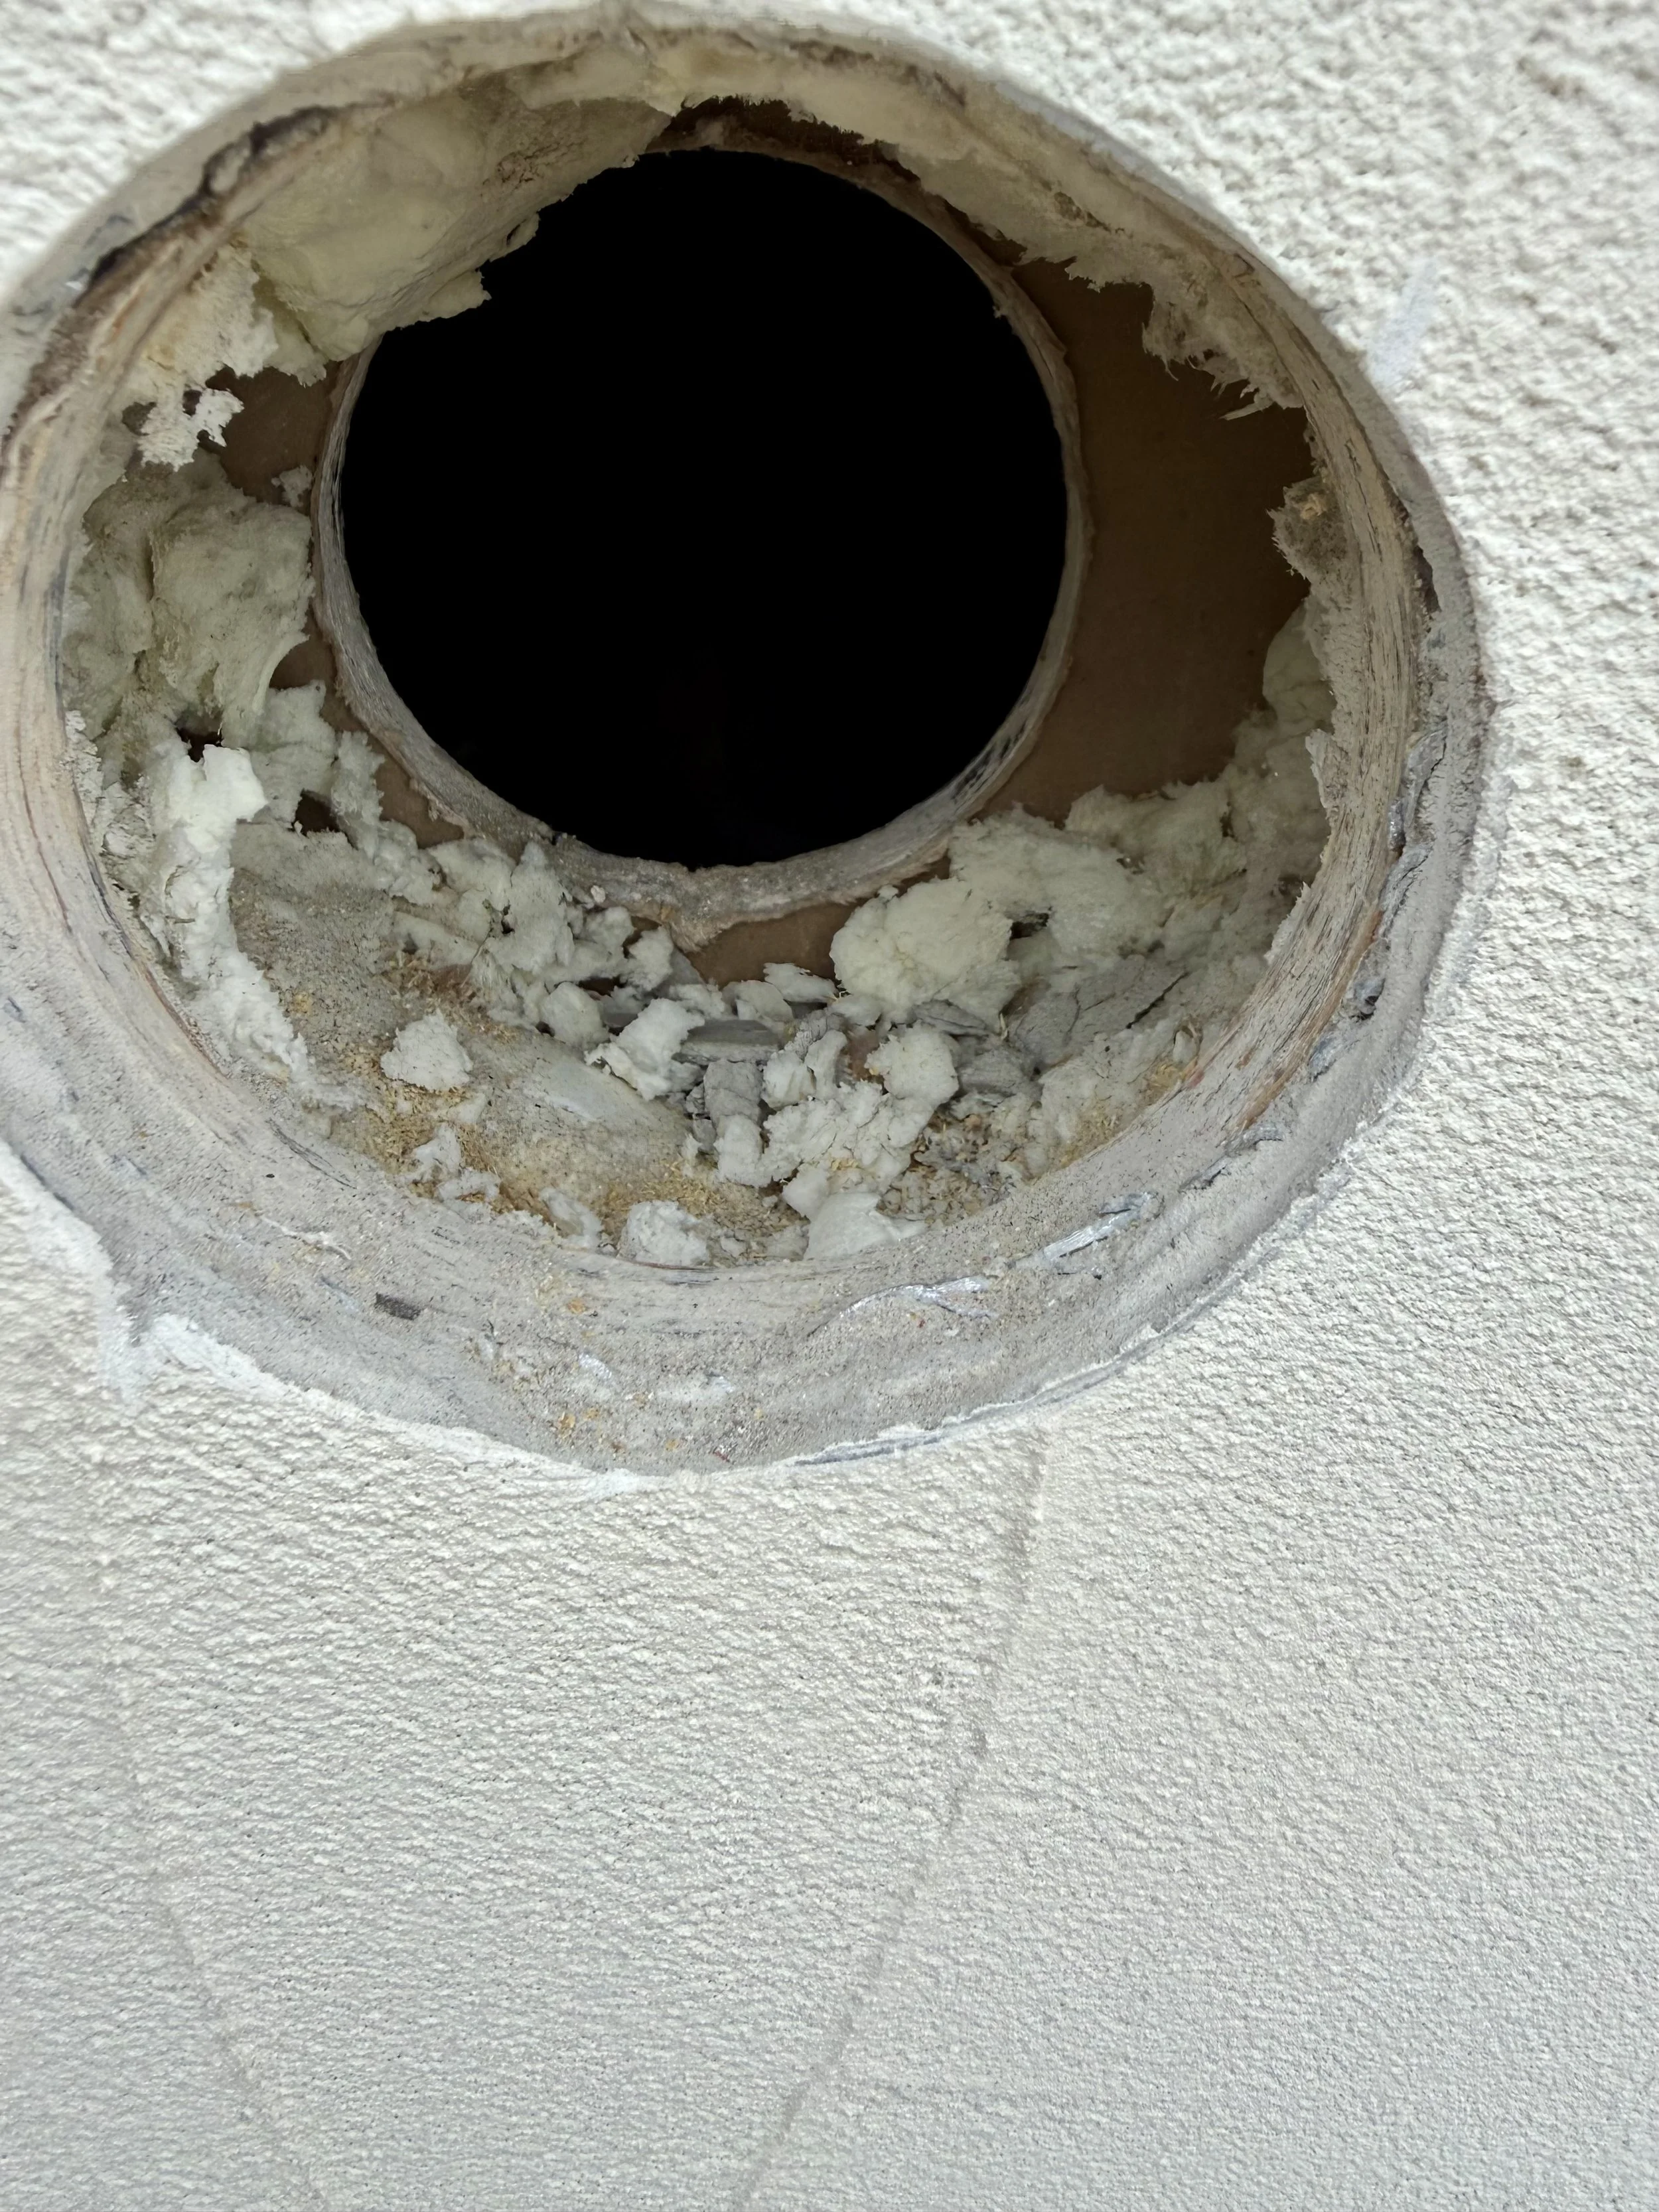
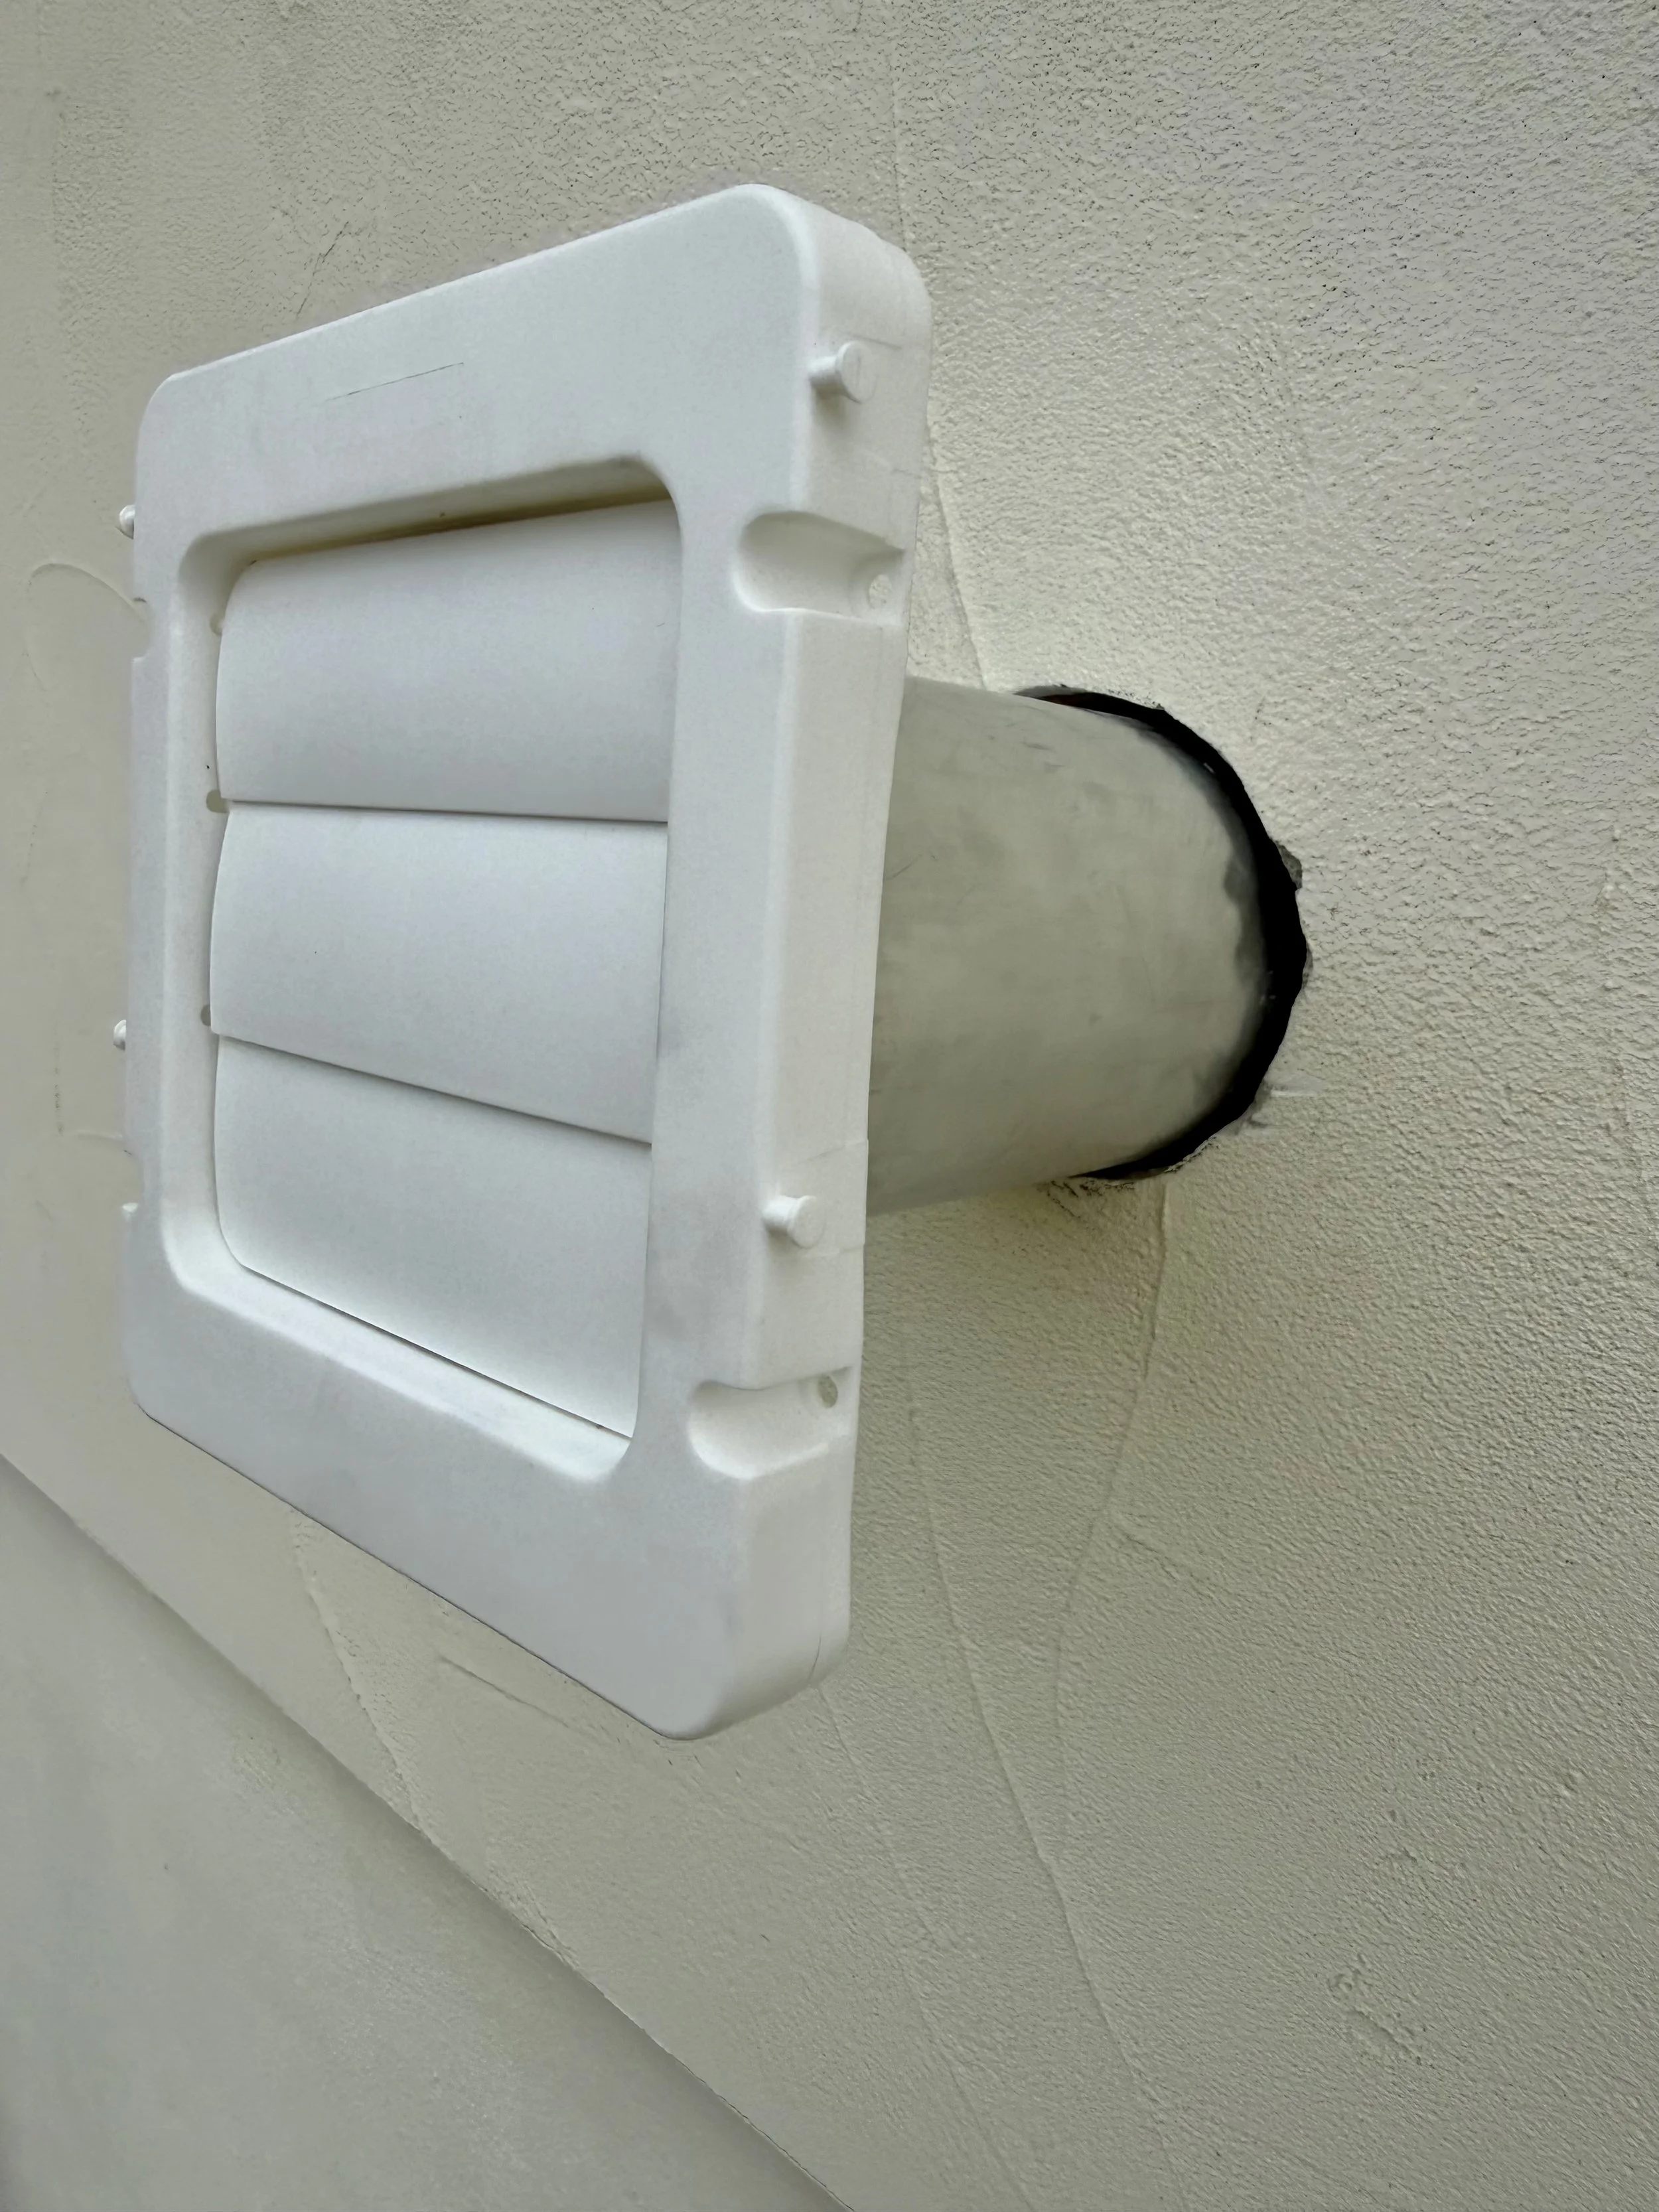
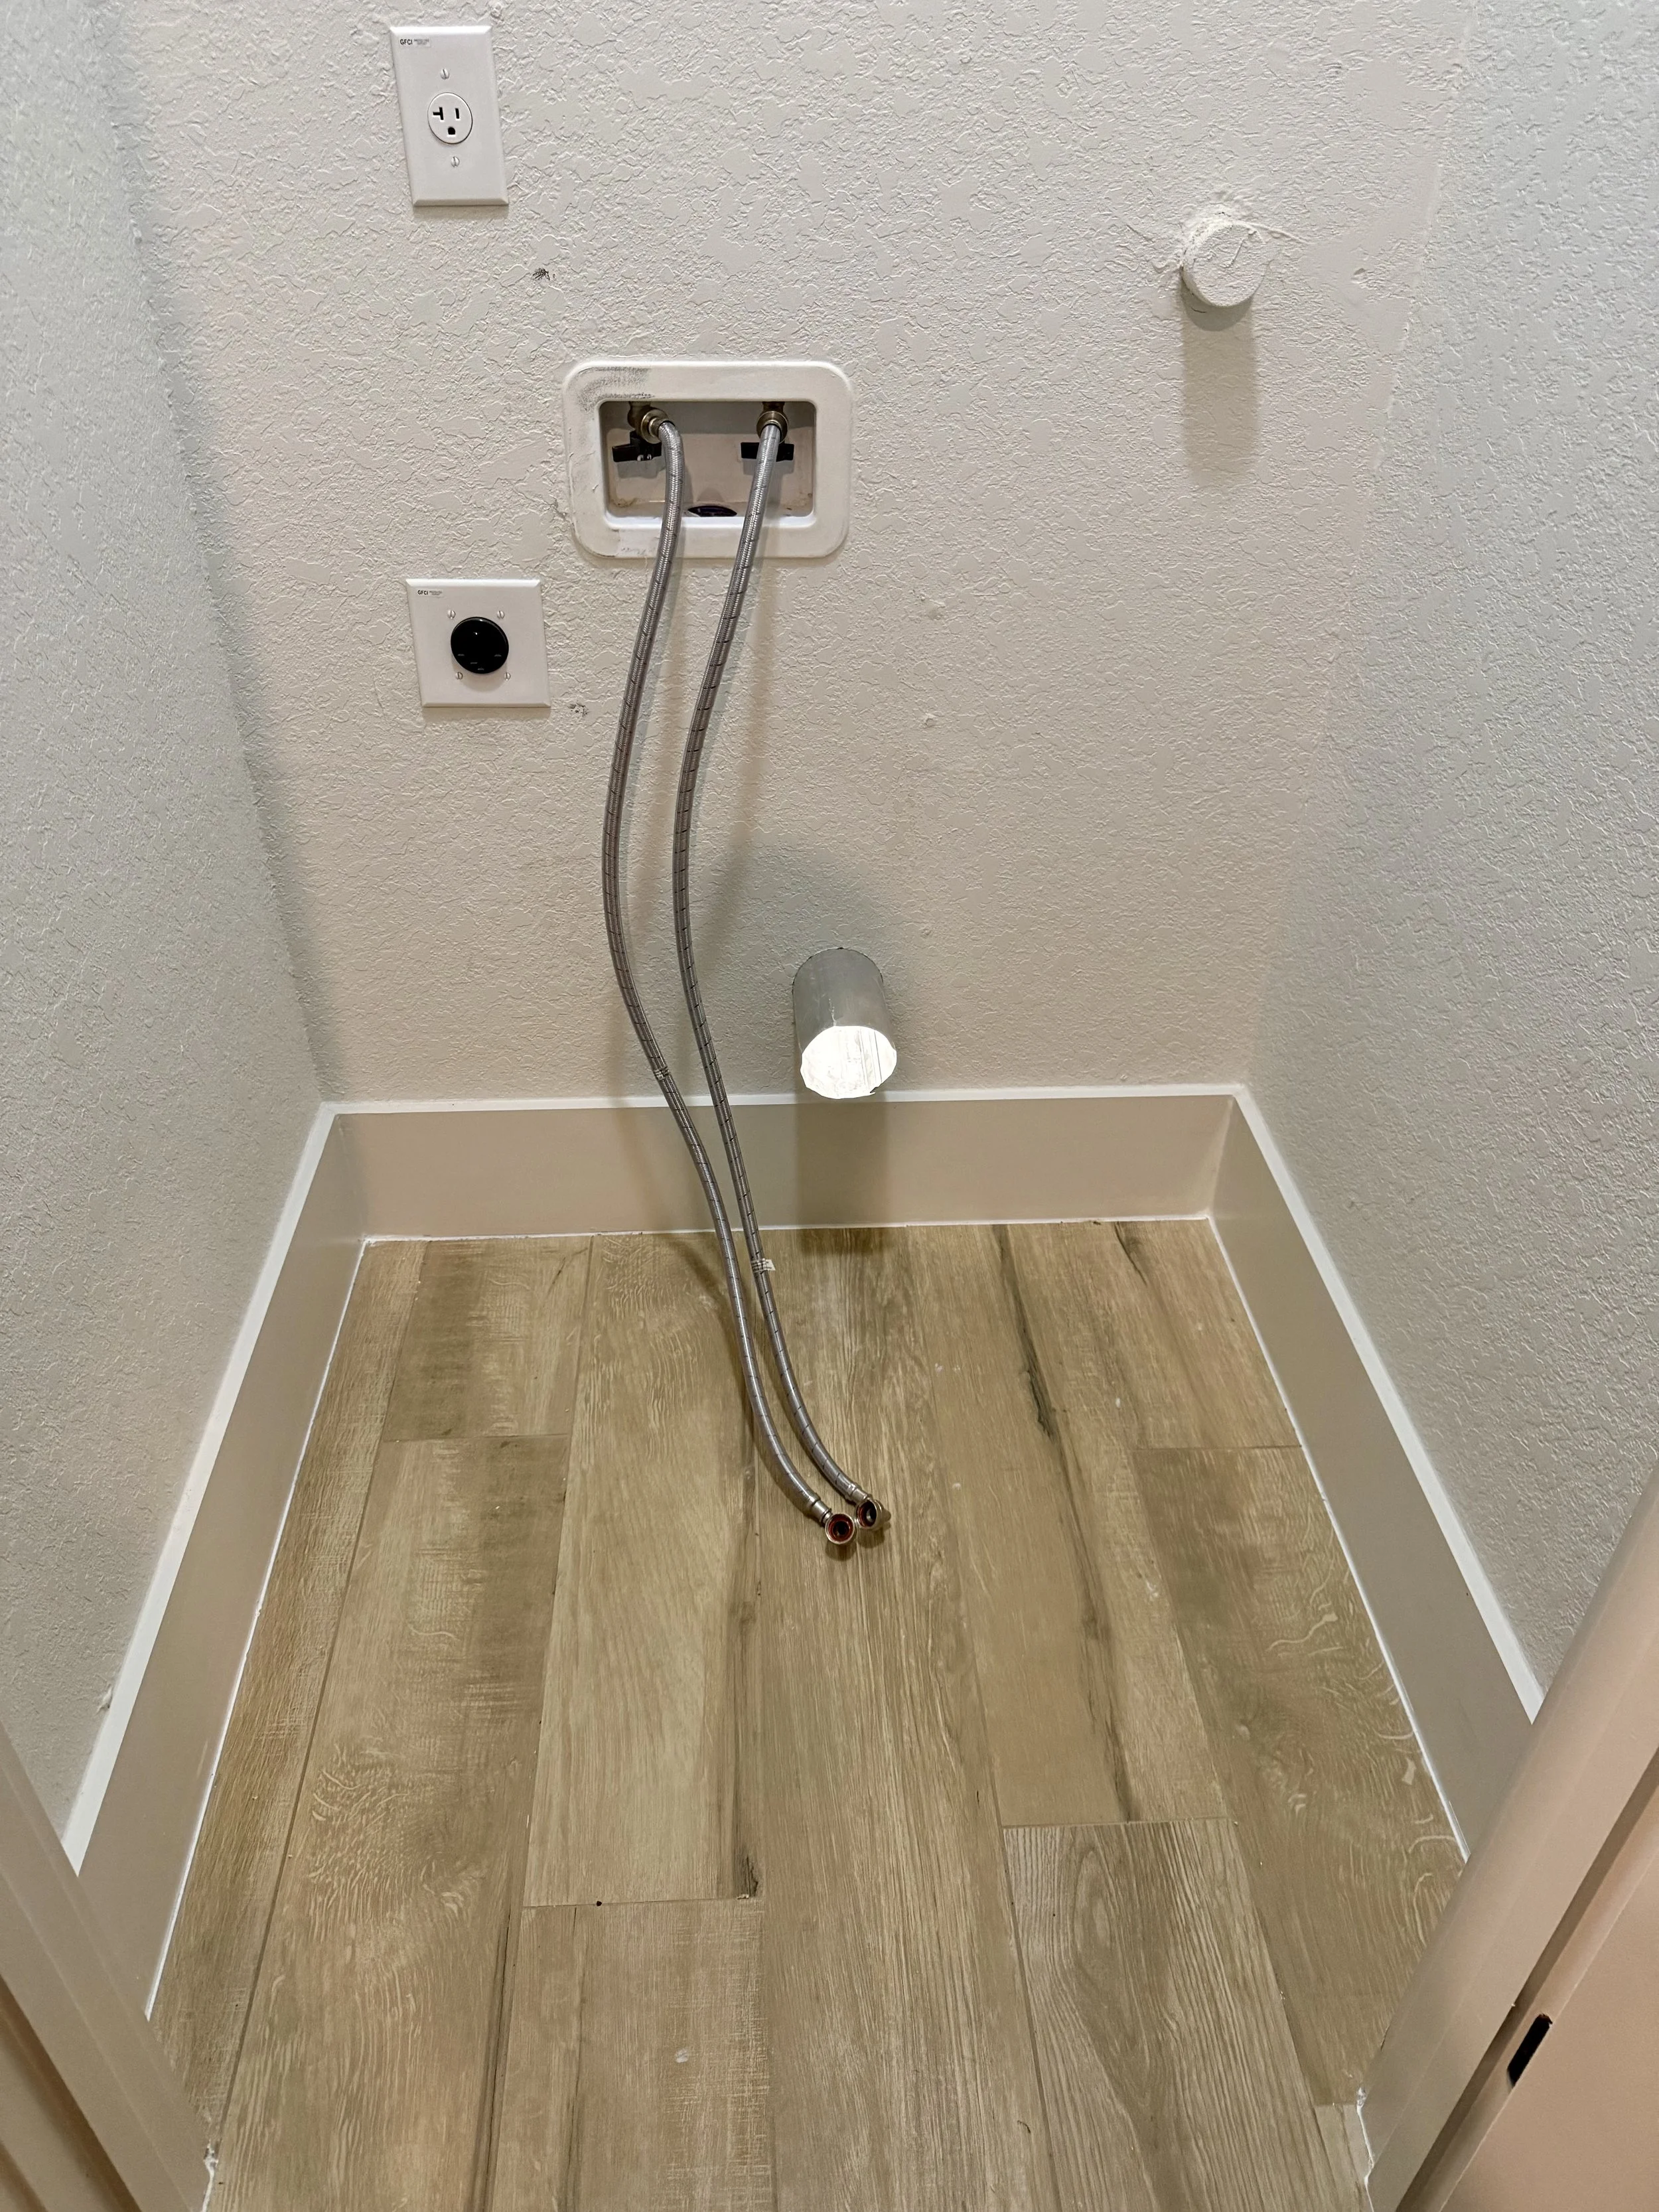
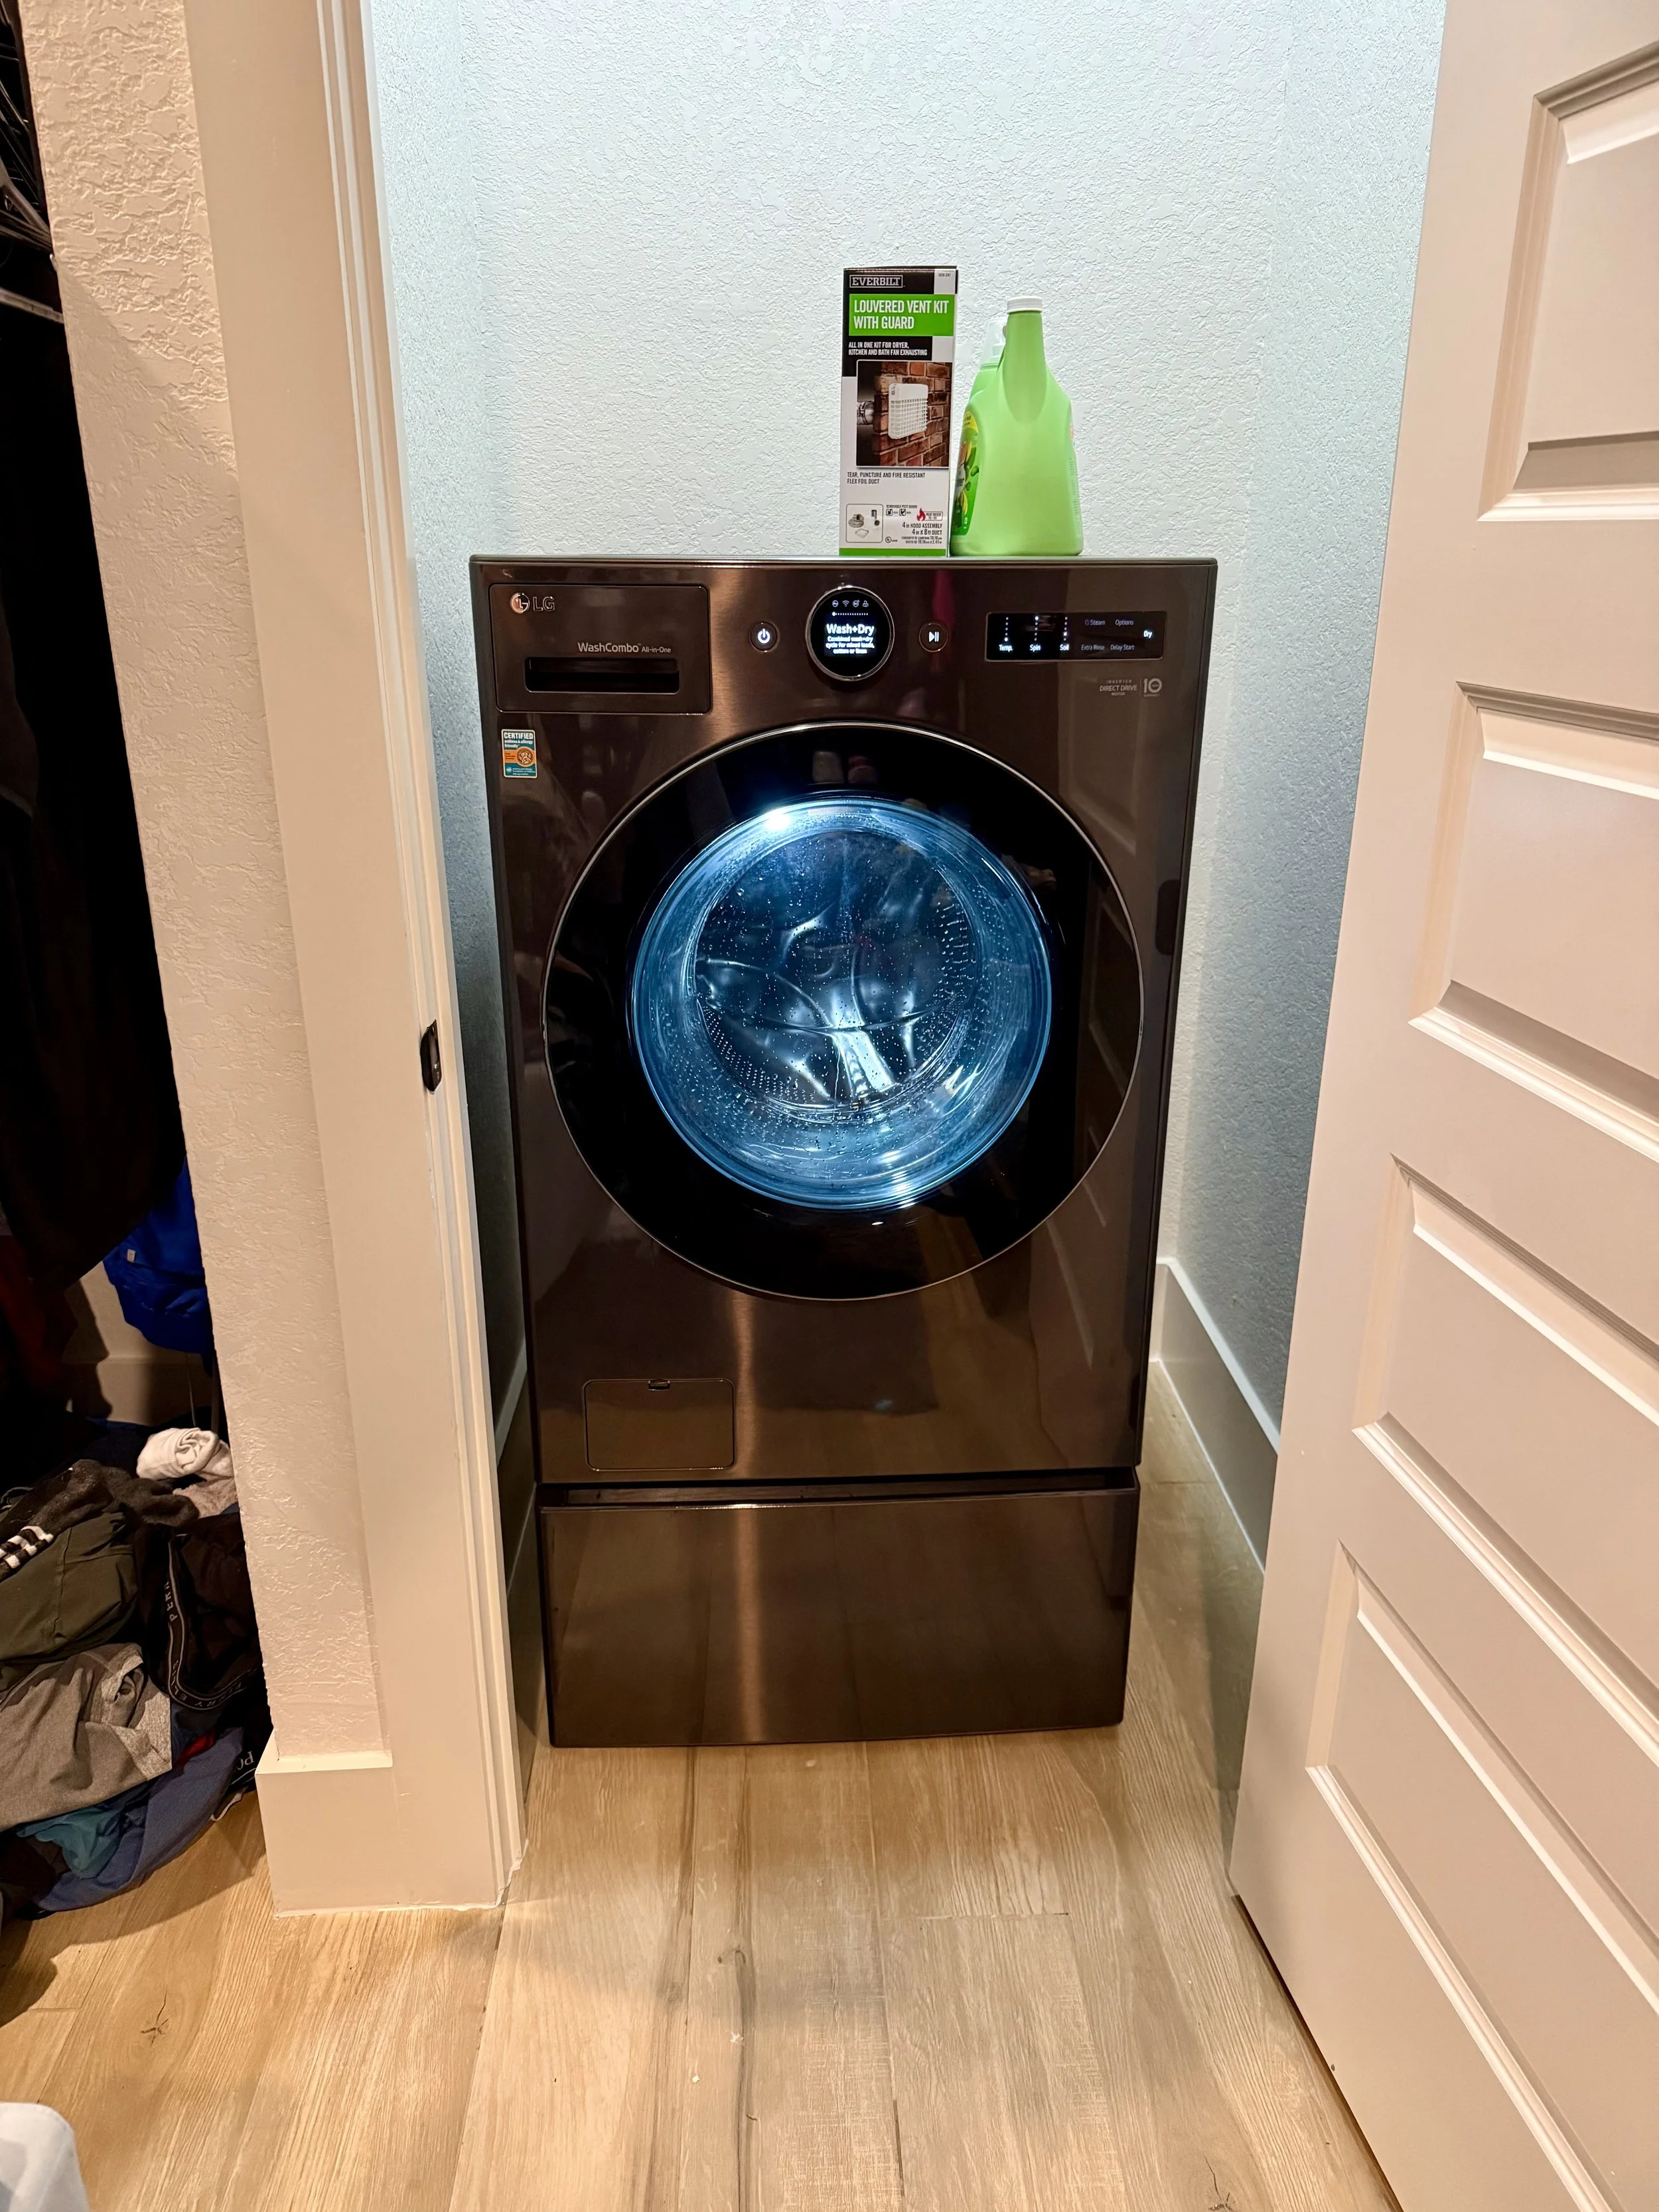
4. Cutting Through the Tough Stuff: The Dryer Vent
The most technical part of the day was installing a new dryer vent in the master closet. This wasn't a simple "through-the-drywall" job. To reach the exterior, we had to navigate a "sandwich" of materials:
• Sheetrock
• Thick Insulation
• Exterior Plywood
• Tough Stucco
Using a diamond-tip hole saw, we precision-cut through the stucco without cracking the surrounding finish. Most importantly, we performed a "look-before-you-leap" check to ensure we didn't inadvertently nick any existing plumbing or electrical wires hidden in the wall.
The Home Depot vent kit fit like a glove, and we’re ready to return to hook up the hose once the new dryer arrives!
The ReCreate Standard: Better Than We Found It
Whether we are drilling through masonry or building an office chair, our finishing touch is always the same: The Clean-Up. We vacuumed up the stucco dust, cleared the wood shavings, and left the home better than we found it.
Does your home have a "to-do" list that’s getting out of hand?
From San Antonio to Cross Mountain, Ted and Timothy Thevaos are ready to help you reclaim your space.
🛠️ Get Your Free Estimate
Visit our website and fill out our simple Estimate Form to get started: